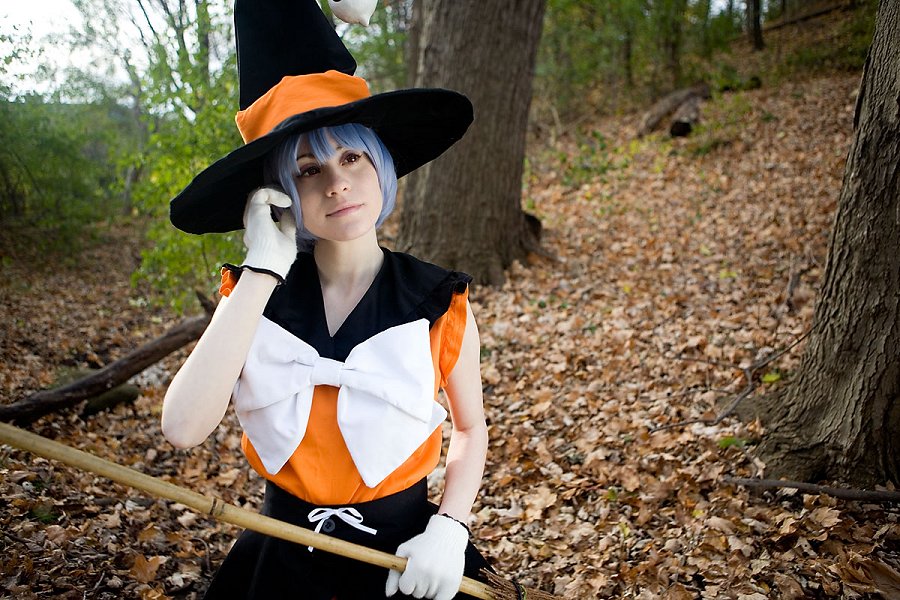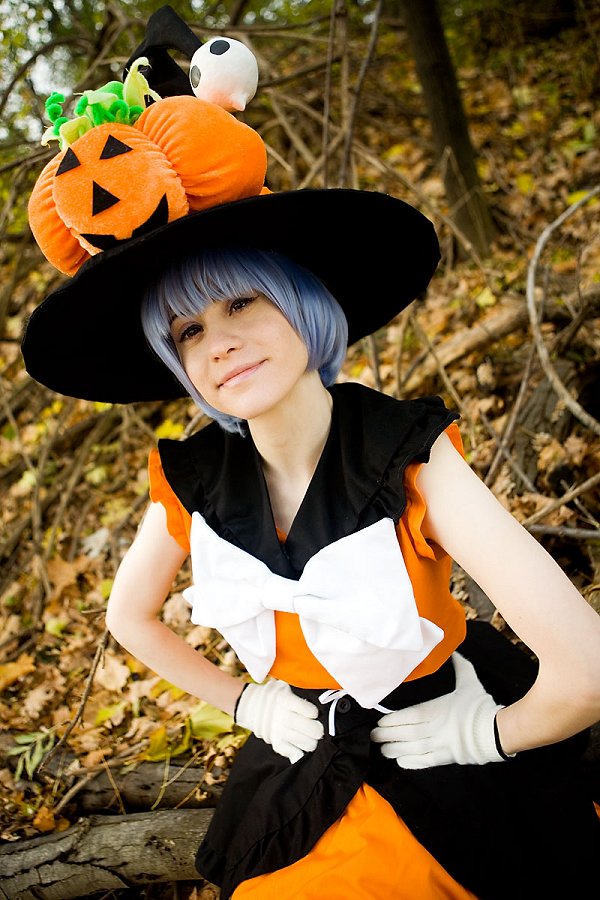
Rei Ayanami (Halloween Lolita) - Neon Genesis Evangelion
Cost: $138
Time to Make: 40 hours
Timeline of Construction: August - October 2012
Pictures


Information
Evangelion was one of the first series that I watched back when I first seriously got into
Anime in the early 2000s. Pan introduced me to it and lent me the series so I could watch it.
I pretty much marathoned my way through it and I was fairly young when I saw it so I didn't
really grasp the complexities of the show, but it was a series that stuck with me. I really
liked Asuka's character. Rei never really appealed to me. I did Cosplay Asuka's yellow dress
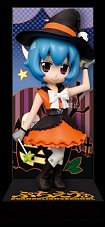
back in 2010 and I thought I was done with Cosplaying from the series. While browsing through
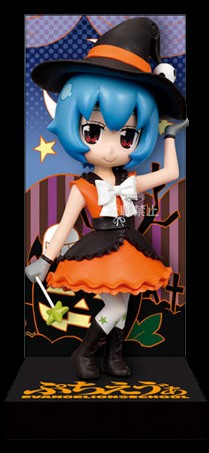
the dealer's room at Youmacon 2011, I noticed a really cute Halloween themed Rei figure for
sale and I pretty much snatched it up right away. I adored the colour scheme and outfit
design. Later on I went back to the vendor and bought Asuka too whose design was also cute,
but not quite as appealing. Pretty much right then at the con I decided I would have to make
Rei's Halloween outfit. I'm a huge Halloween fan so it felt like the perfect costume choice.
Of course, it was also a kind of complicated design so it wasn't something I was looking to
jump into making right away. I thought it might be a fun costume for the fall of 2012.
I posted on my journal and asked if any of my Cosplay friends might be interested in joining
me and Sakura offered to be Asuka.
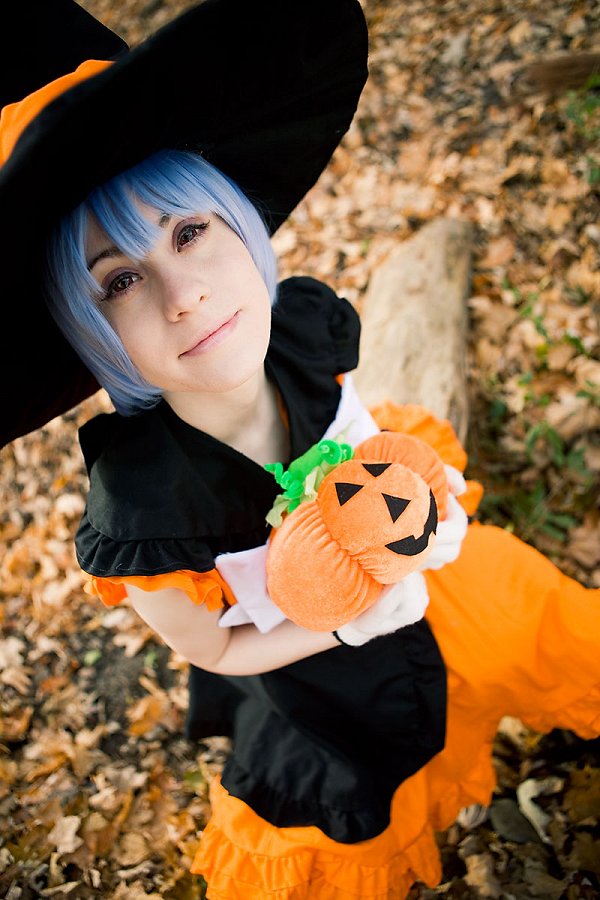
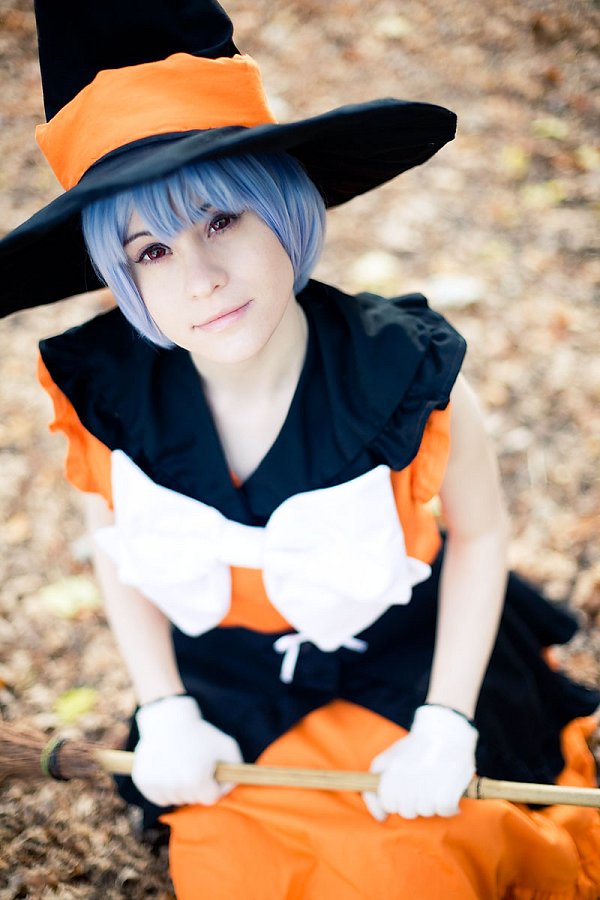
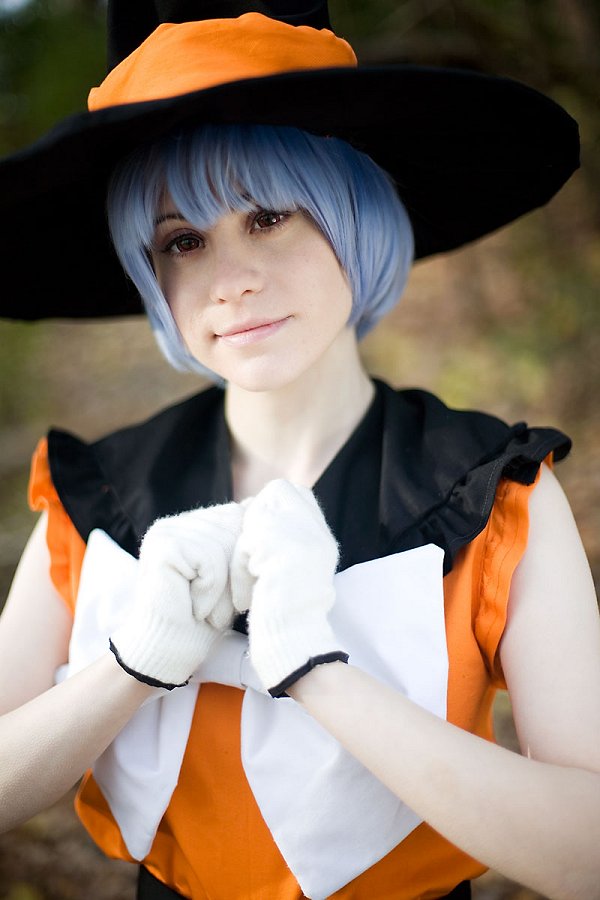
Getting a jump on things, I bought a wig for the costume in February. The figure gives Rei
rather dark blue hair, but I really liked the more powder blue hair that she has in the Anime
so I bought a lighter coloured wig from the eBay seller koreahomme. Pan trimmed my bangs and
the back of the wig a bit for me before I wore the costume. I bought fabric for the costume in
June. Both the orange and black fabrics are twills, but the black is a much heavier fabric. I
started working on the costume in late August after finishing my Bulma costume.
I made the blouse using Butterick pattern 5948. I forgot to alter the neckline as the original pattern had a
rounded collar so I created a back seam with an open closure at the top to compensate. Once I went back and fixed
the collar into a v-shape, I no longer needed an opening in the back to fit my head through so
I closed the seam. Although the armholes of the outfit on the figure appear to be plain, I decided to add
ruffles around the edges to make the blouse look a little fancier. I think it made the design
a little nicer. Thank goodness for the ruffler foot on my machine! It really saved the day
with this costume or making the ruffles would have taken forever.
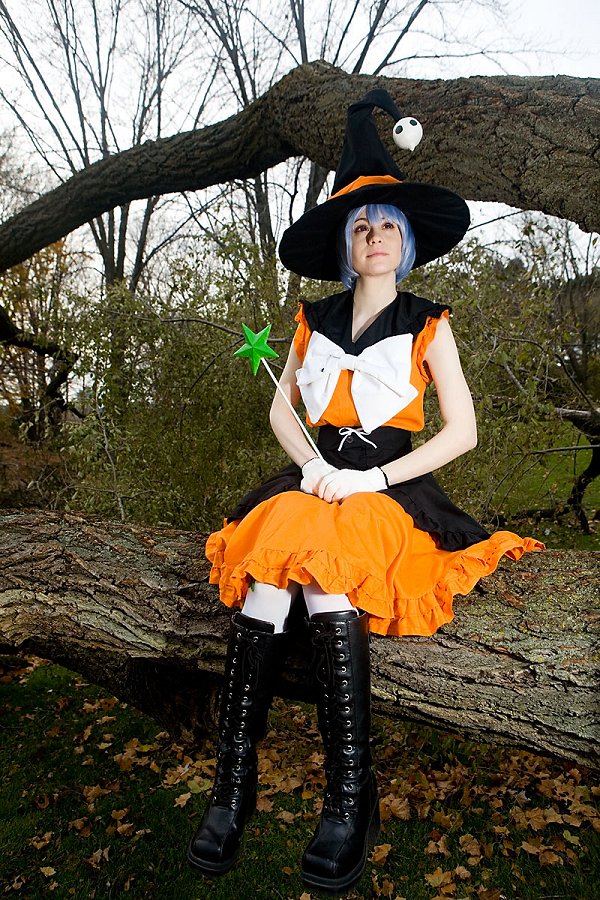
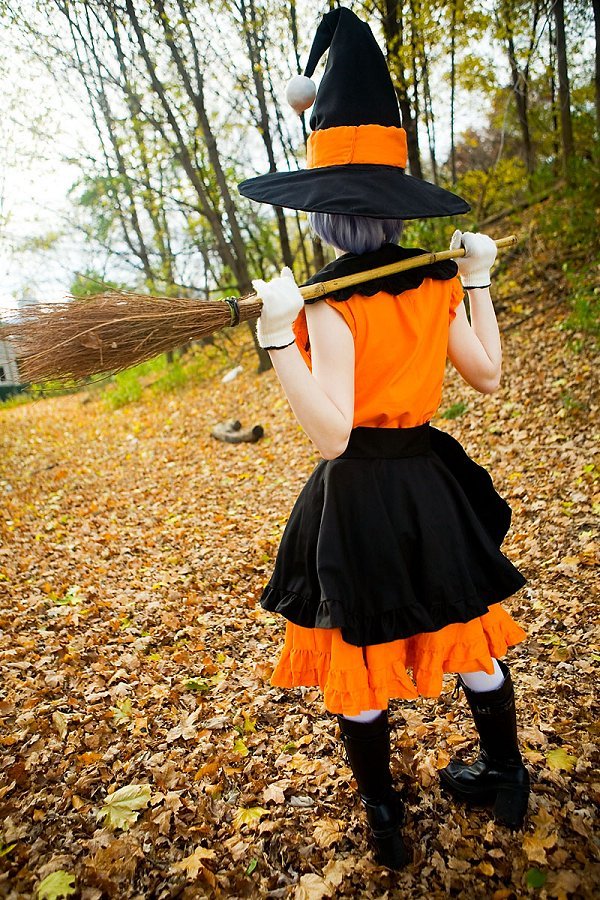
The orange skirt was made using Simplicity pattern 3847. The pattern envelope includes patterns meant for
Halloween poodle skirts and waitress outfits. The look of old style poodle skirts really
gave me the definition I needed to make the skirt poofy. I followed the pattern without
altering it. I purchased a petticoat on eBay to give the skirt a little oomph. Later on I made
several metres of ruffles for the bottom of the skirt. Rei's skirt has two-tiers of ruffles so
it took forever to make them and sew them on. I could have made a second under skirt layer instead, but I decided to just make the ruffles so the skirt wouldn't be too heavy. I will say that with all the hand sewing involved in this
costume, I did ask my mother to handsew some of the ruffles on the skirt. She was a big help
with that!
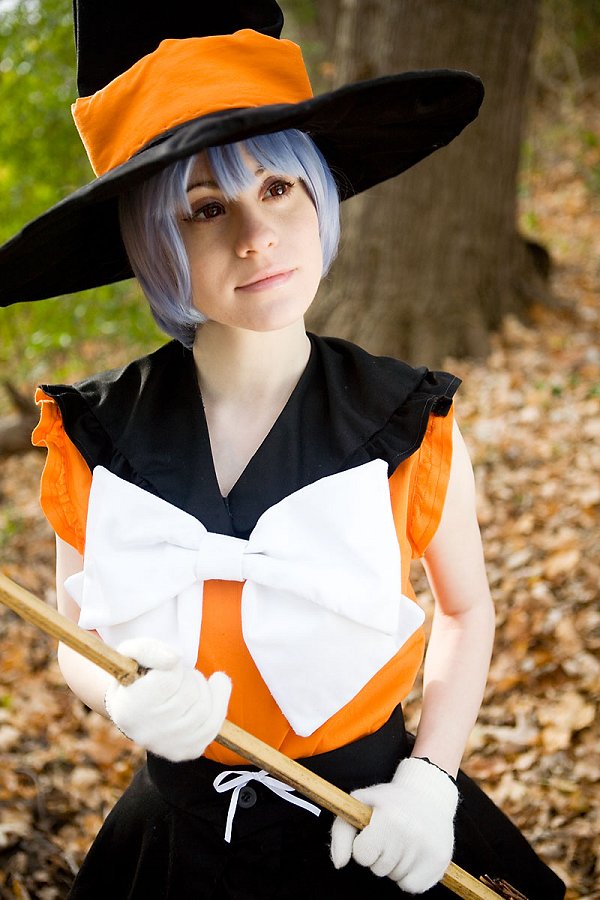
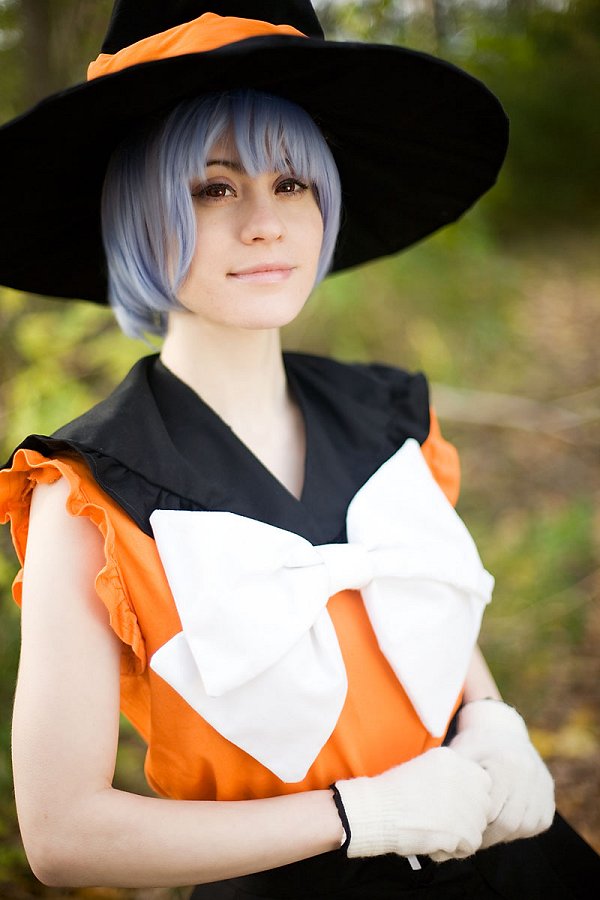
The sailor collar of the blouse was made by alerting the sailor scout collar pattern I've used
for several costumes. It was fairly easy to make although it was super hard to sew because the
black fabric was so thick. It was even worse sewing a layer of ruffles to the collar. The
figure has two layers of ruffles on the collar and I did make the second layer and I attached
it, but I found the second layer was really massive and it made me look like a fancy
linebacker. XD I decided to remove one of the layers and I saved it for the overskirt. I used
my sailor scout bow pattern to make the big white bow on the front of the collar. It attaches
to the blouse and collar using snaps.
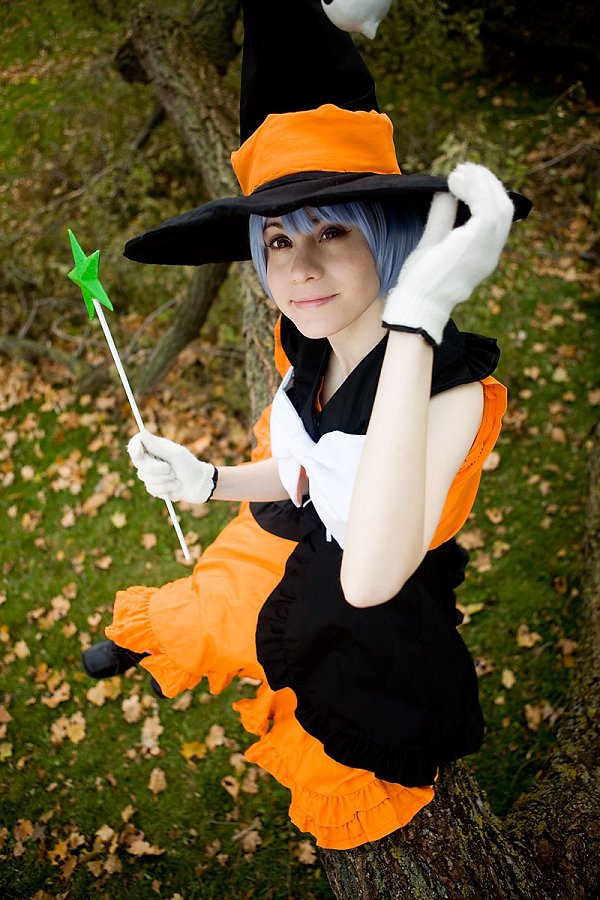
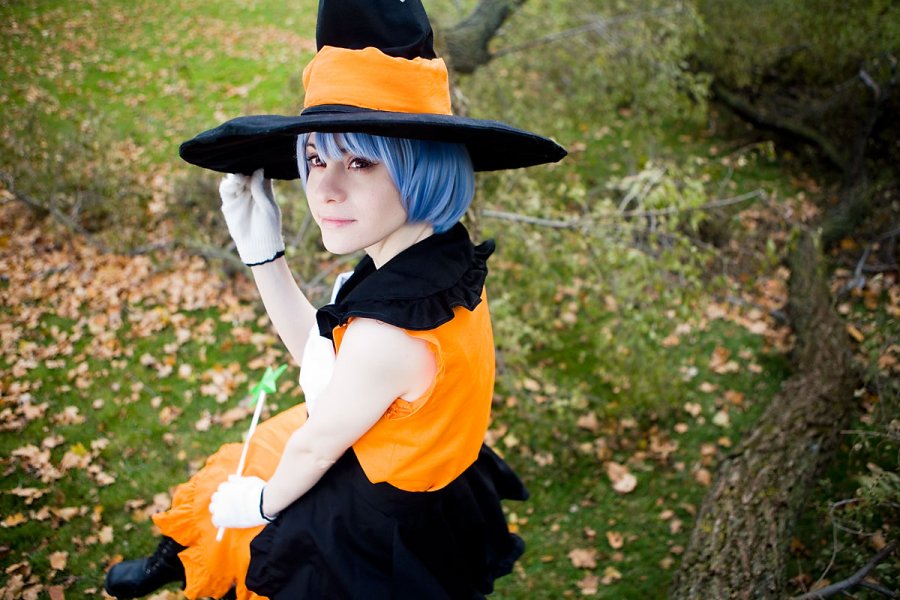
The overskirt was probably the trickiest part of the costume to pattern. I made it by altering
the skirt pattern. I didn't quite get the design right when I cut out the fabric, but I was
able to manipulate the fabric when attaching ruffles to make the right shape. I modified the waistband on the overskirt and made it a button closure at
the front. The orange skirt has a side zipper closure instead. The black ruffles snap together right below the waistband so everything stays in place. I'm really
proud of the overskirt. I matched the overskirt design detail by making and sewing on a little white
bow just by the button closure.
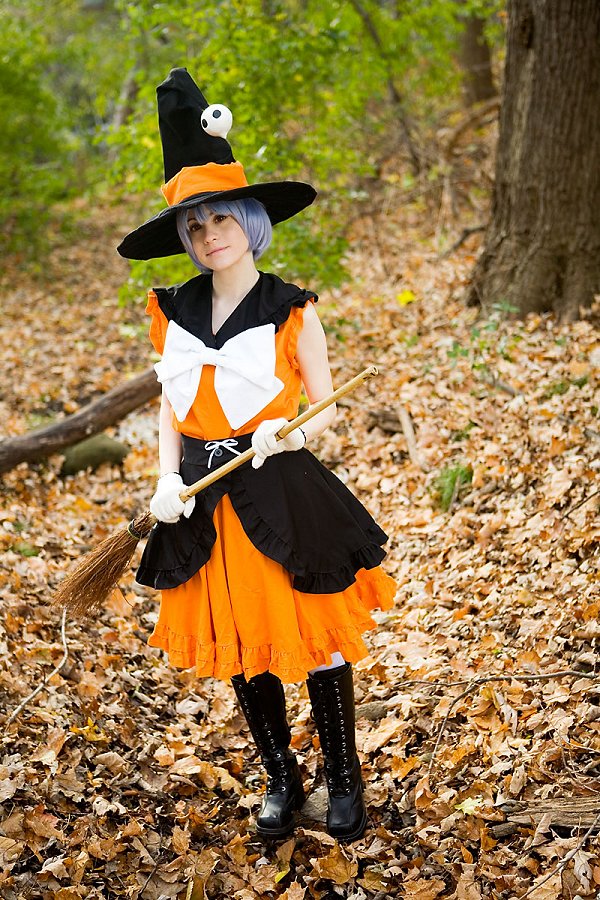
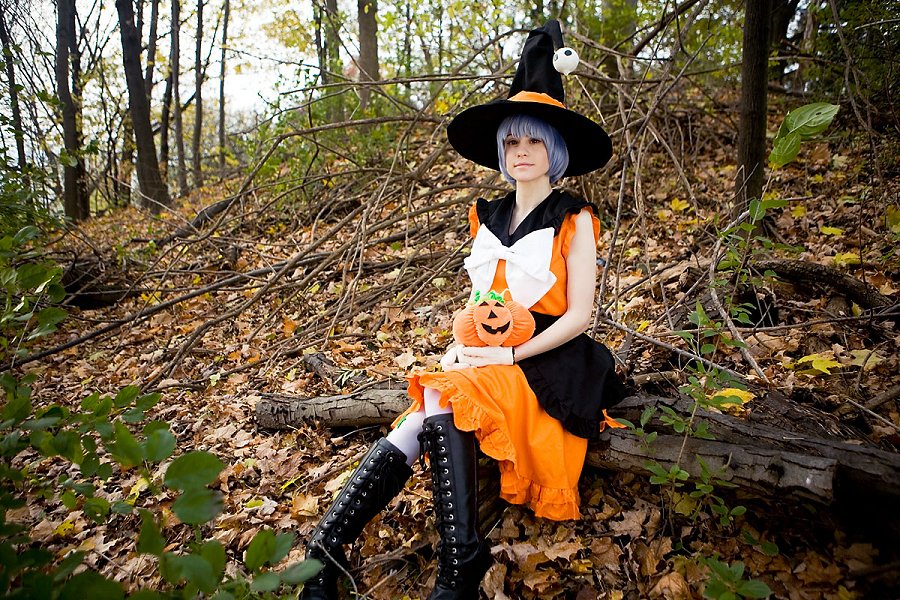
The hat was a bit tricky to make. My friend Maisheri suggested buying dollar store witch hats
and taking the wire from the brim so I could get a proper round shape for cheap. Her
suggestion was really helpful. I bought 3 witch hats and I ended up using each of them for the
hat. I cut up one of them to use as a pattern for my hat. I took the wiring out
of two of the other hats and I used the two wires in the brim of mine. Just using one didn't quite hold
the shape that I wanted. I stitched around the edge of the wires to hold them in place. The
top of the hat was slightly modified to make it a little longer and wider. I elongated the
point so it could be bent over. The top of the hat stays up using a bent coat hanger with some
more witch hat wiring to secure the point.
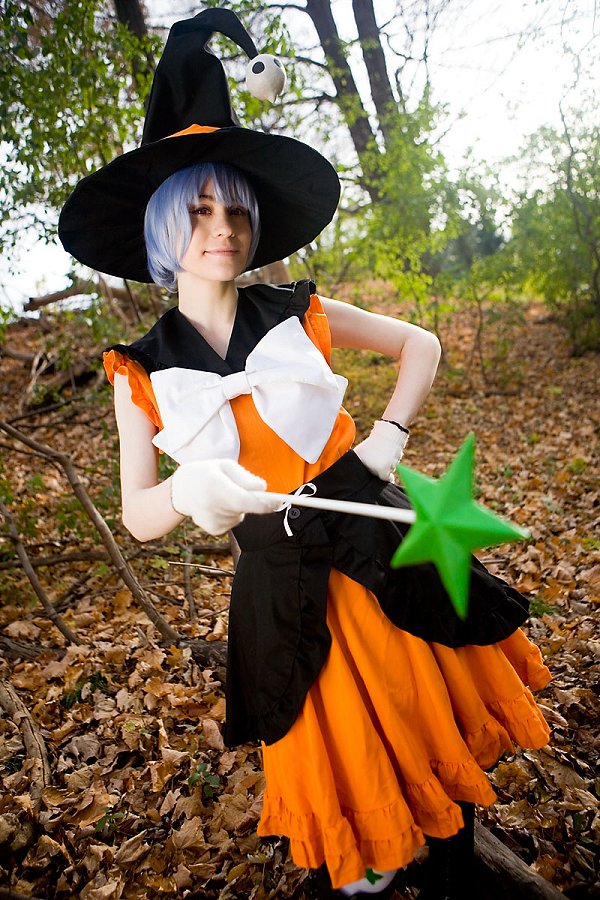
The top of the hat needed to be secured because I attached a little ornament to the tip. I
believe it's meant to be a little white Angel head from the show. I made the head using a styrofoam ball that I
covered and shaped with clay mache. The black eyes were painted on and I coated the ornament
in Mod Podge. It's glued onto the hat so it won't fall off. The wire running down to the tip
of the hat provides extra support so it wouldn't be too wobbly. I'm a little surprised that a
bent coat hanger made such a perfect backbone for the hat. I created a fabric casing for it
and it's sewn down around the back of the base of the hat so it's pretty secure. The last
detail on the hat was an orange band that I stuffed with felt so it stood out. My
mother did the tacking around the orange band as I was having trouble getting my stitches to
not appear to be bunchy. I like the overall look. I expected the hat to be a lot more
challenging to make than it turned out to be and that's a good thing!
The boots aren't exactly accurate, but to save money and because they kind of work, I just
re-wore an old pair of Walmart lace-up knee high black boots for the costume. The tights were
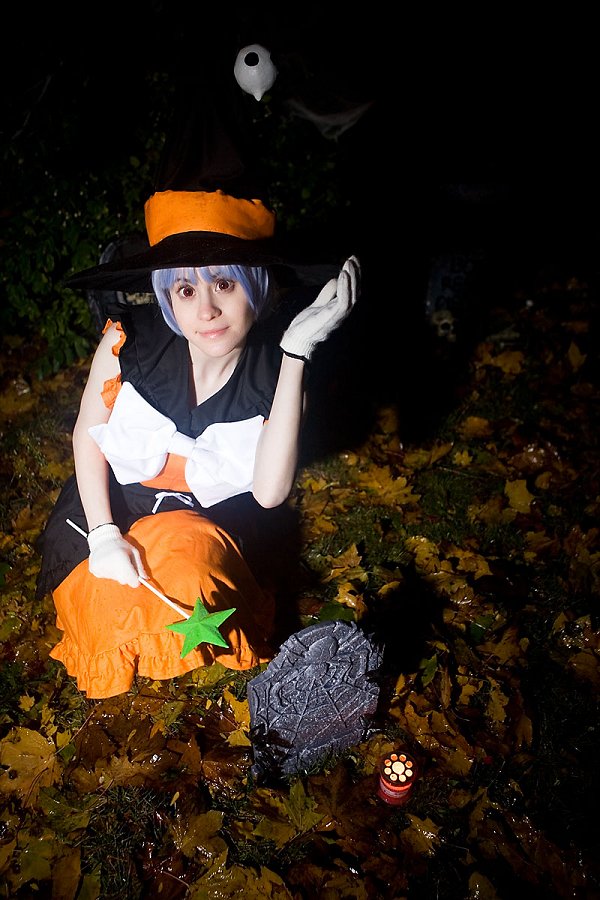
opaque Capezio ones. I added the green star details which I matched to the figure. Originally
I decided to paint the stars on using a plastic star shape as a guide and that worked out ok.
With stretching the detail became a little warped. I was able to dig up some old felt that my
mother had, which was an ok match for the green shade I was hoping for, so instead I cut out
green felt stars and carefully sewed them over the painted stars. The coverage isn't perfect,
but I didn't want to abandon my Capezio tights since they're much better at resisting rips.
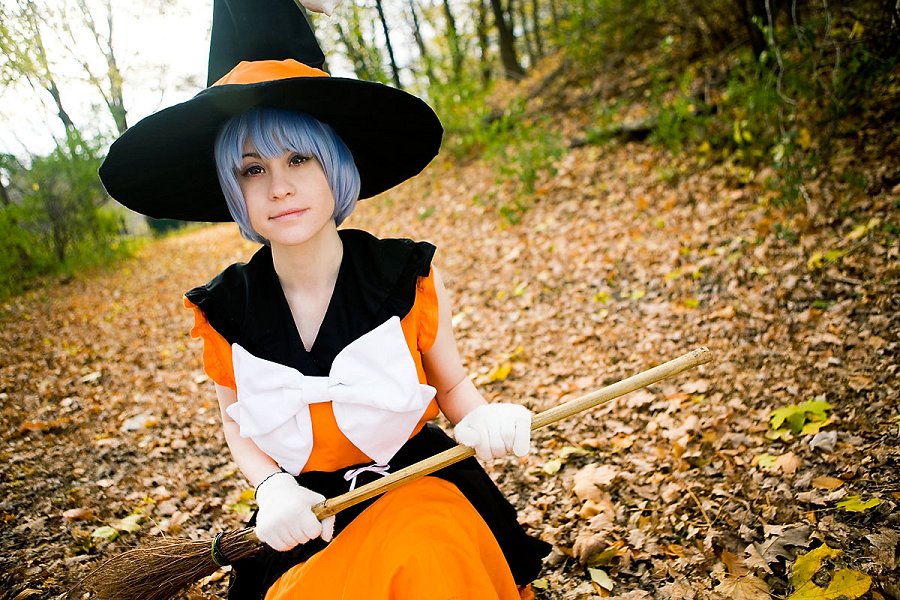
In the figure Rei is wearing little white gloves so I ordered a pair of knit gloves on eBay
and I sewed on black cording around the opening. I bought red contacts for the costume way
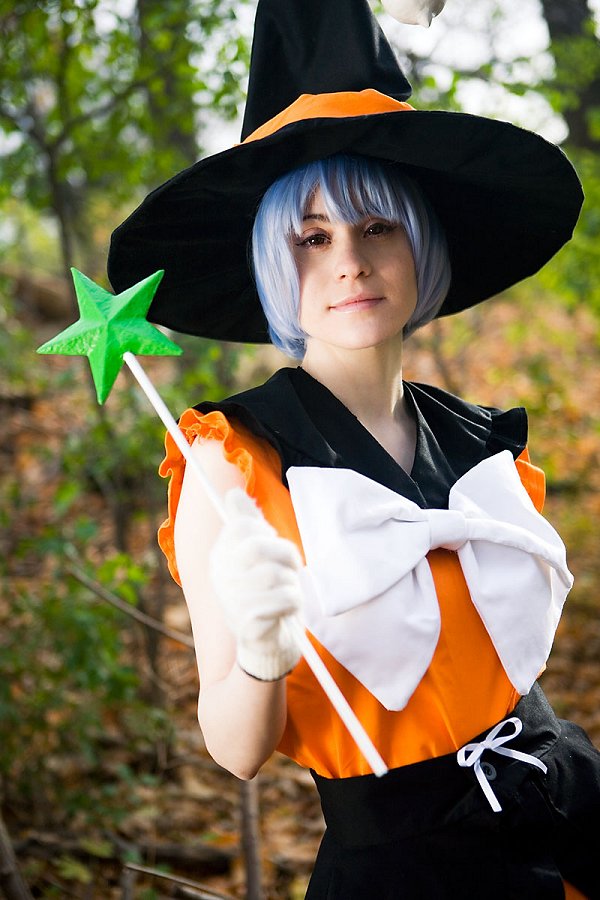
back in the winter. I always thought Rei's red eyes really stood out. Finally the wand Rei is
holding was made using a dollar store Christmas ornament that I bought last year. It was a
green, glittery cardboard star. I removed the ornament string and I covered the star in paper
mache so I wouldn't have to worry about the tacky glitter. I couldn't get it to be very smooth
but I did my best to make a nice even layer. I sanded and painted the star and attached a
dowel that I painted white to the bottom of the star. I covered everything with a layer of Mod Podge and that
finished the costume.
I got quite a bit of wear out of this costume once I finished it in late October. I gave it a
test run at the Silver Snail Halloween Party. It wasn't really an outfit suited to that sort
of event, but I'm glad that I got to test out the costume before Youmacon. I added a few extra
snaps to the white bow so it would stay up better. I had a heck of a time dealing with my red
contacts. They were i.Fairy Hanabi red ones and they did not like to go in and stay in my eyes. A
contact actually fell out right before I left my house on Halloween and was annoying to get
back in. A contact fell out again while I was in the food court in the GM Center at Youmacon
and I had to carry it back up to my hotel room to put it back in. I definitely don't plan to re-wear that brand of contacts again.
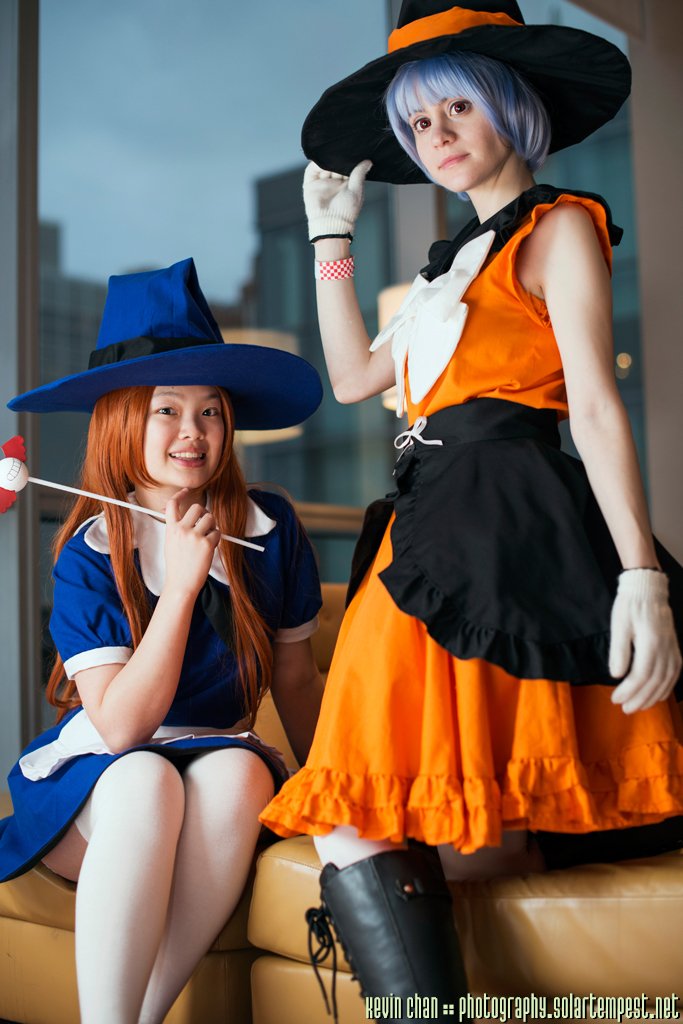
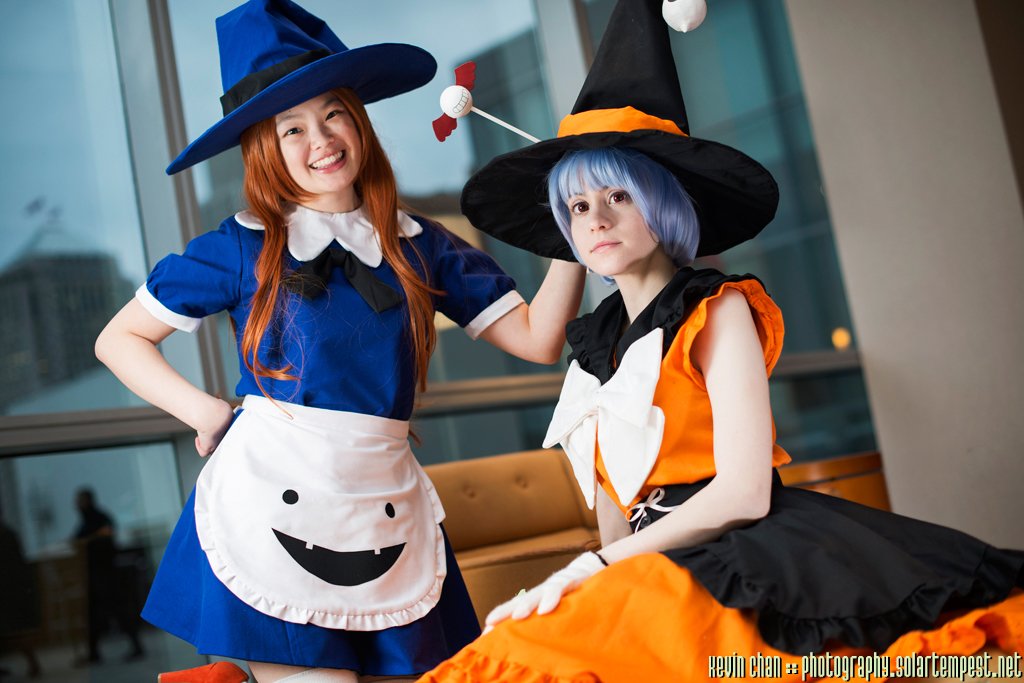
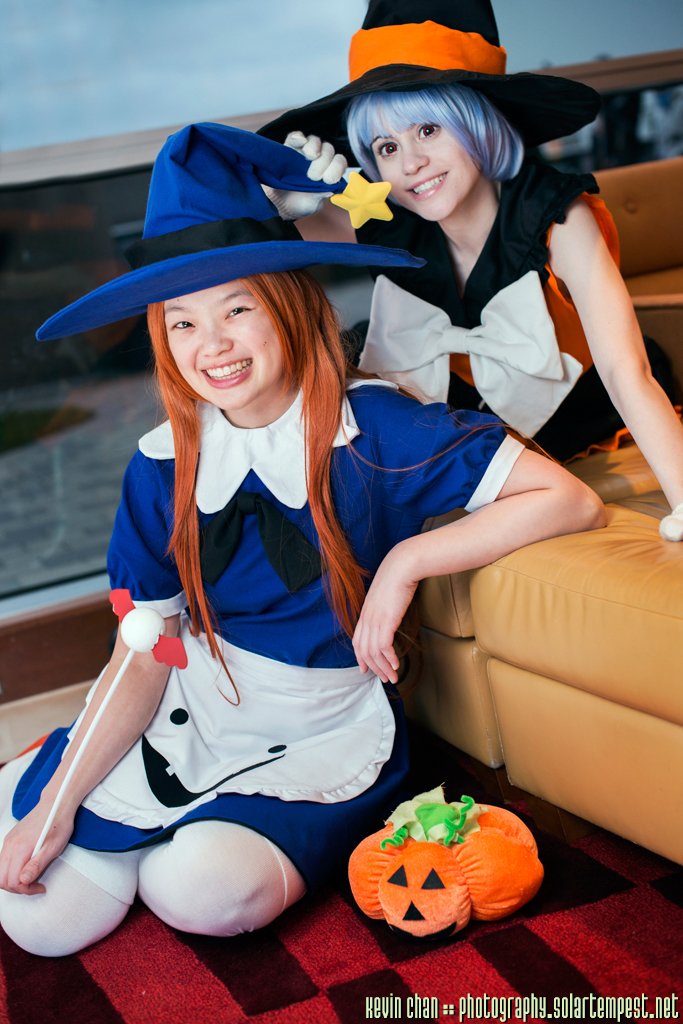
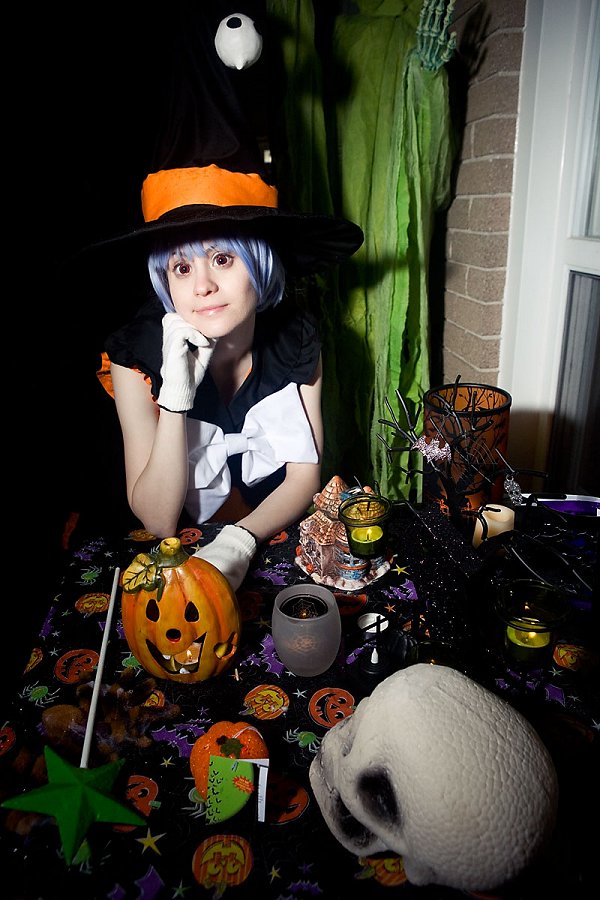
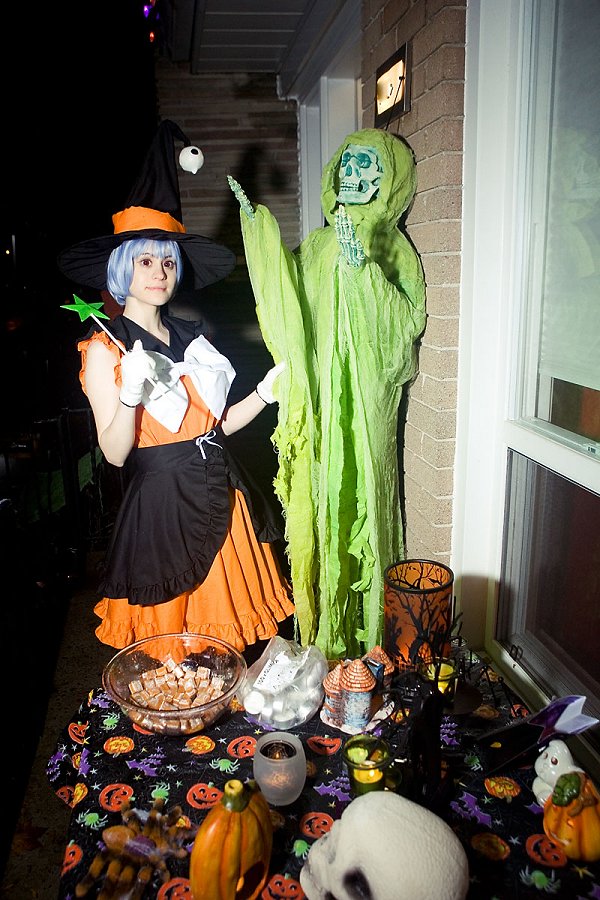
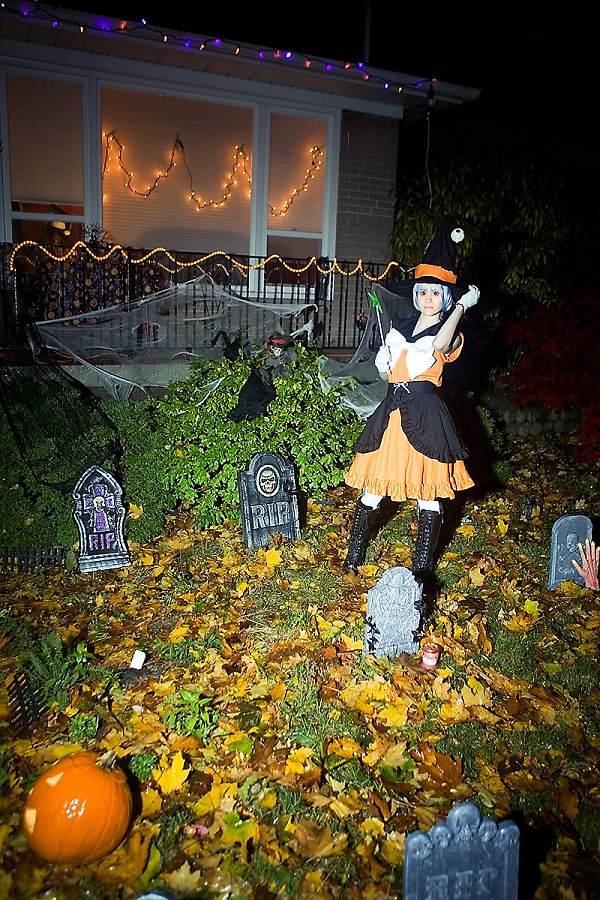
I was able to wear this costume on Halloween 2012 and I did a quick shoot with Stillvisions while it was raining around my Halloween decorations. The costume went mostly unrecognized at
Youmacon, but Sakura surprised me by wearing Asuka. I wasn't sure if she was going to finish
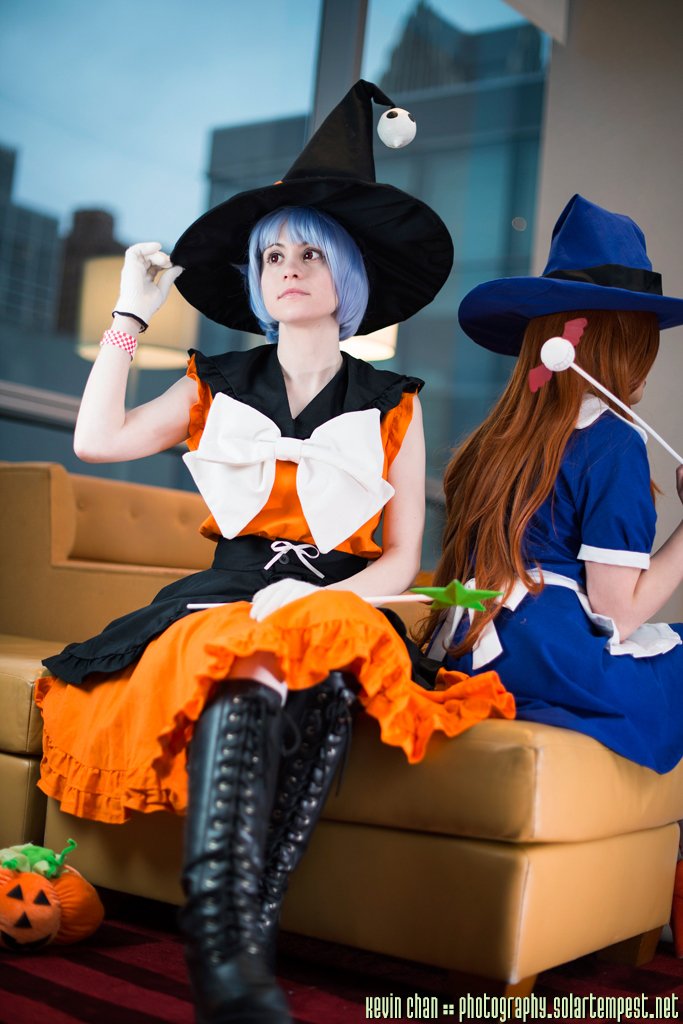
the costume in time for the con and she looked really adorable! We were able to do a quick shoot
with SolarTempest at the con.
Although the costume has a pretty obscure source, I adore it. I'm quite happy with how the
costume turned out even though it took a very long time to finish. I haven't really taken on a
major costume project since Shinku in 2011 so it was fun to take on a big project that
although was time consuming, really didn't feel that difficult. It's giving me some
confidence for future costume plans. I'm just happy that I was able to make another Halloween
themed costume. It's my favourite time of the year and I always love working on something that
really captures the spirit of the season. (^_^)
Events/Conventions this costume was worn to
2012 Silver Snail Halloween Party, on Halloween 2012, Youmacon 2012 (Friday) & Private Photoshoot in November 2012
Photo Credits
Paul Hillier, Stillvisions & SolarTempest
Back