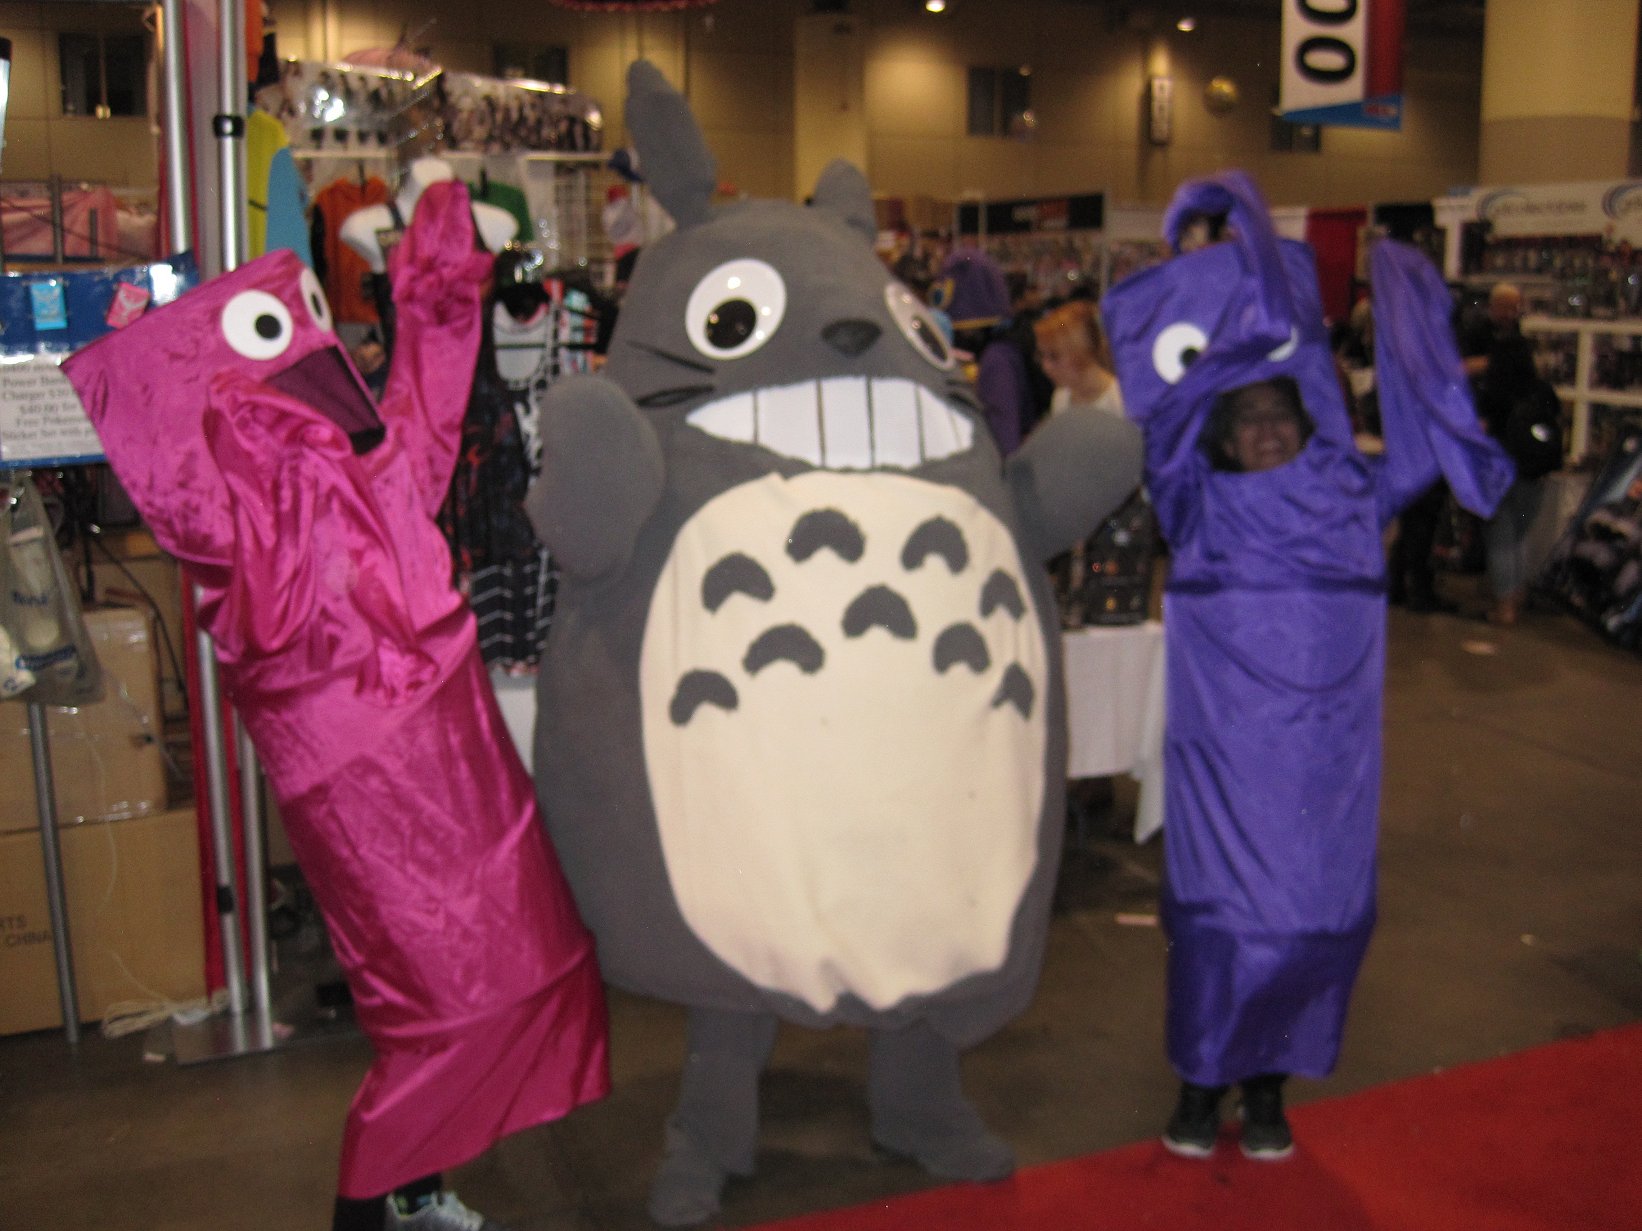
Wacky Wavy Inflatable Tube Man

Cost: $47
Time to Make: 18 hours
Timeline of Construction: July 2016 - August 2017
Pictures


Information
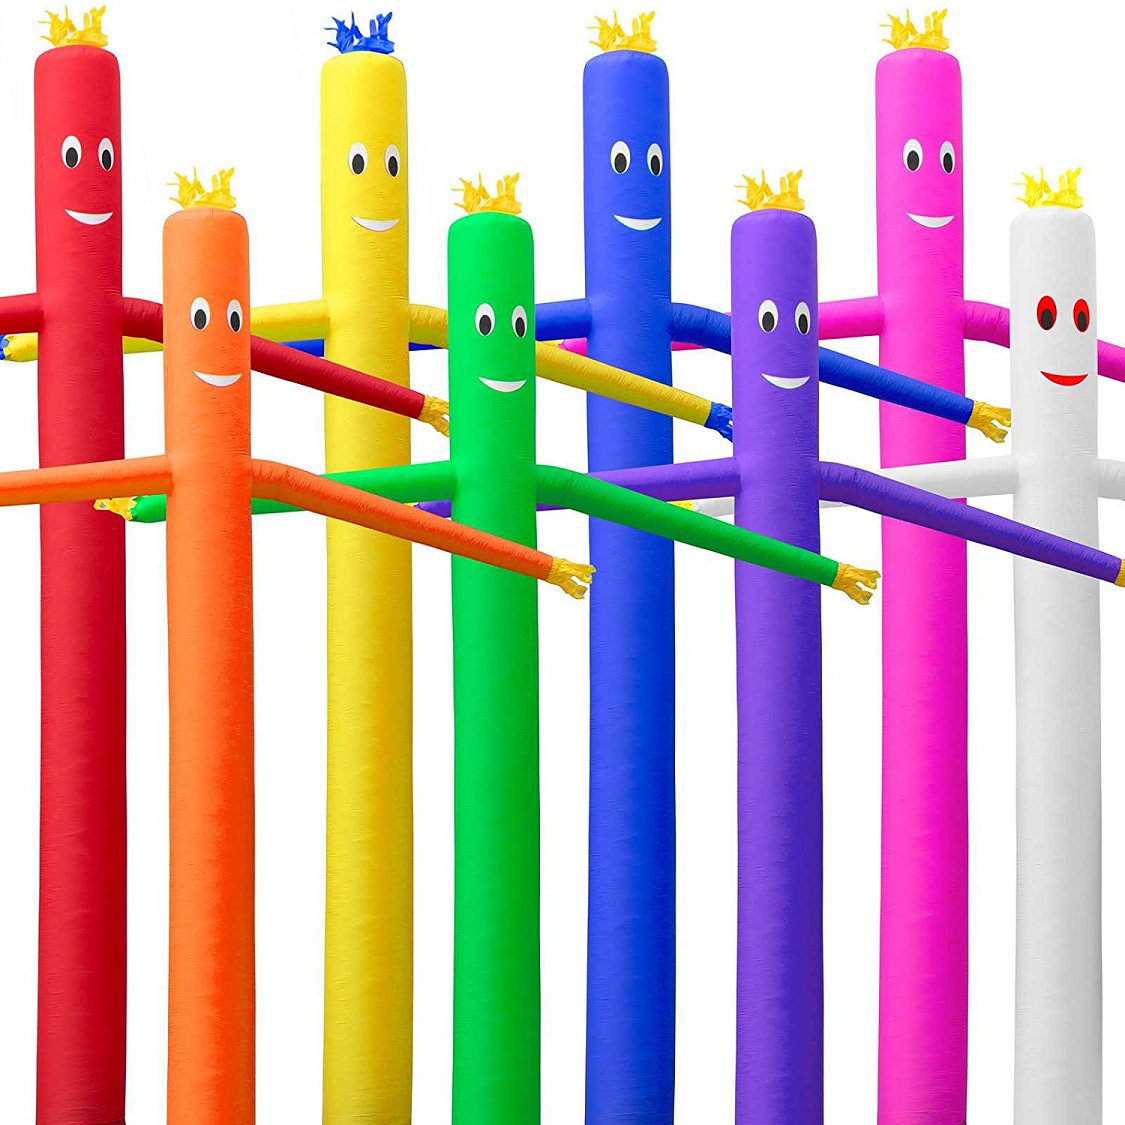
This costume must seem like it came totally out of left field. I mean a left field that has an awesome Wacky Wavy Inflatable Tube Man in it! XD This was a very out there costume choice though. I've seen videos floating around of various people wearing Wacky Inflatable Tube Man costumes and they're hilarious. I can't help but smile whenever I see stores using these tube men to advertise because they just seem so bizarre. How could I not want to make a costume of one?! It's been something that I've been interested in doing for a couple of years now. I figured it would be fun for Halloween. A real gag costume. I wondered if it would be a hit at a convention just because of how ridiculous the costume is so I was super curious to see the reaction it might get. I played around with the idea and told my friend Pan. At first she was interested in helping me plan out the costume for myself for Halloween, but the more we talked about the idea, the more she was interested in making a tube man costume for a con as well and the rest is history!
It was July 2016 when we first decided seriously to make these costumes. We weren't quite sure how to put them together mostly because finding a decent support base for the shape was trickier than we both expected. We knew pop up mesh laundry baskets would be the best thing to work with. They have a nice cylinder shape, can be cut up easily and fit over our clothes. The hardest part was finding laundry baskets that were big enough for us and also were black. Pan found us some through Amazon in July 2016 and ordered them. They were really fancy and came with neat carrying cases. The cases came in handy for transporting the costumes. We also purchased spandex fabric for the costumes in October 2016. We took our time with these costumes since we had other things on our plates and we weren't in a rush. I purchased pink fabric because I do love pink and I thought a vibrant pink would really stand out. Pan purchased a green that was complimentary to my fabric.
We took a massive break during the fall and into the winter as I worked through my Madoka school uniform. We first got together to sew these costumes on February 20th during the Family Day holiday. We decided from the beginning to only work on these costumes together and to make them at Pan's place so it was a nice project to have on the go, but to not really take home with me. We sort of hoped we could finish them in a day or two. We really didn't want to put too much effort into them given the simplicity of the design. Pan took short videos of our progress while we worked on the costumes so I have a nice step-by-step guide to the process. We started off by cutting holes into the bottom of one laundry basket. We then zip tied together the baskets so they were nearly as tall as we are and they covered our frames. It worked really well. We crafted simple straps to hold our shoulders in within the baskets so the costumes wouldn't slip too much and we cut arm holes for our arms to fit through. We did start to cut out our spandex fabric and Pan sewed a tube before we realized the fabric was way too heavy for our baskets and would sag over. We had to call it quits for the day and think of a new plan of attack. Sadly we each wasted $45 on spandex fabric, but hopefully we'll find a use for the material one day!
Next up we looked into getting cheap tablecloth fabric from the dollar store. We tried that idea in early March. It was light enough, but it was way too thin and was mostly see through. Thankfully we only wasted a few dollars on that. Our friends suggested we try lighter fabrics like cape lining material so away we went back to the fabric district. We did take a break from these costumes until the summer as we were both busy with Anime North and other things. We were able to find new fabric to try in early June. This time we did buy lining. It wrinkles easily and isn't the nicest consistency, but it was really our best option. I stuck with a bright pink, but this time Pan switched it up and went with purple. We got together to try sewing again on July 30th and this time we hoped for better results.
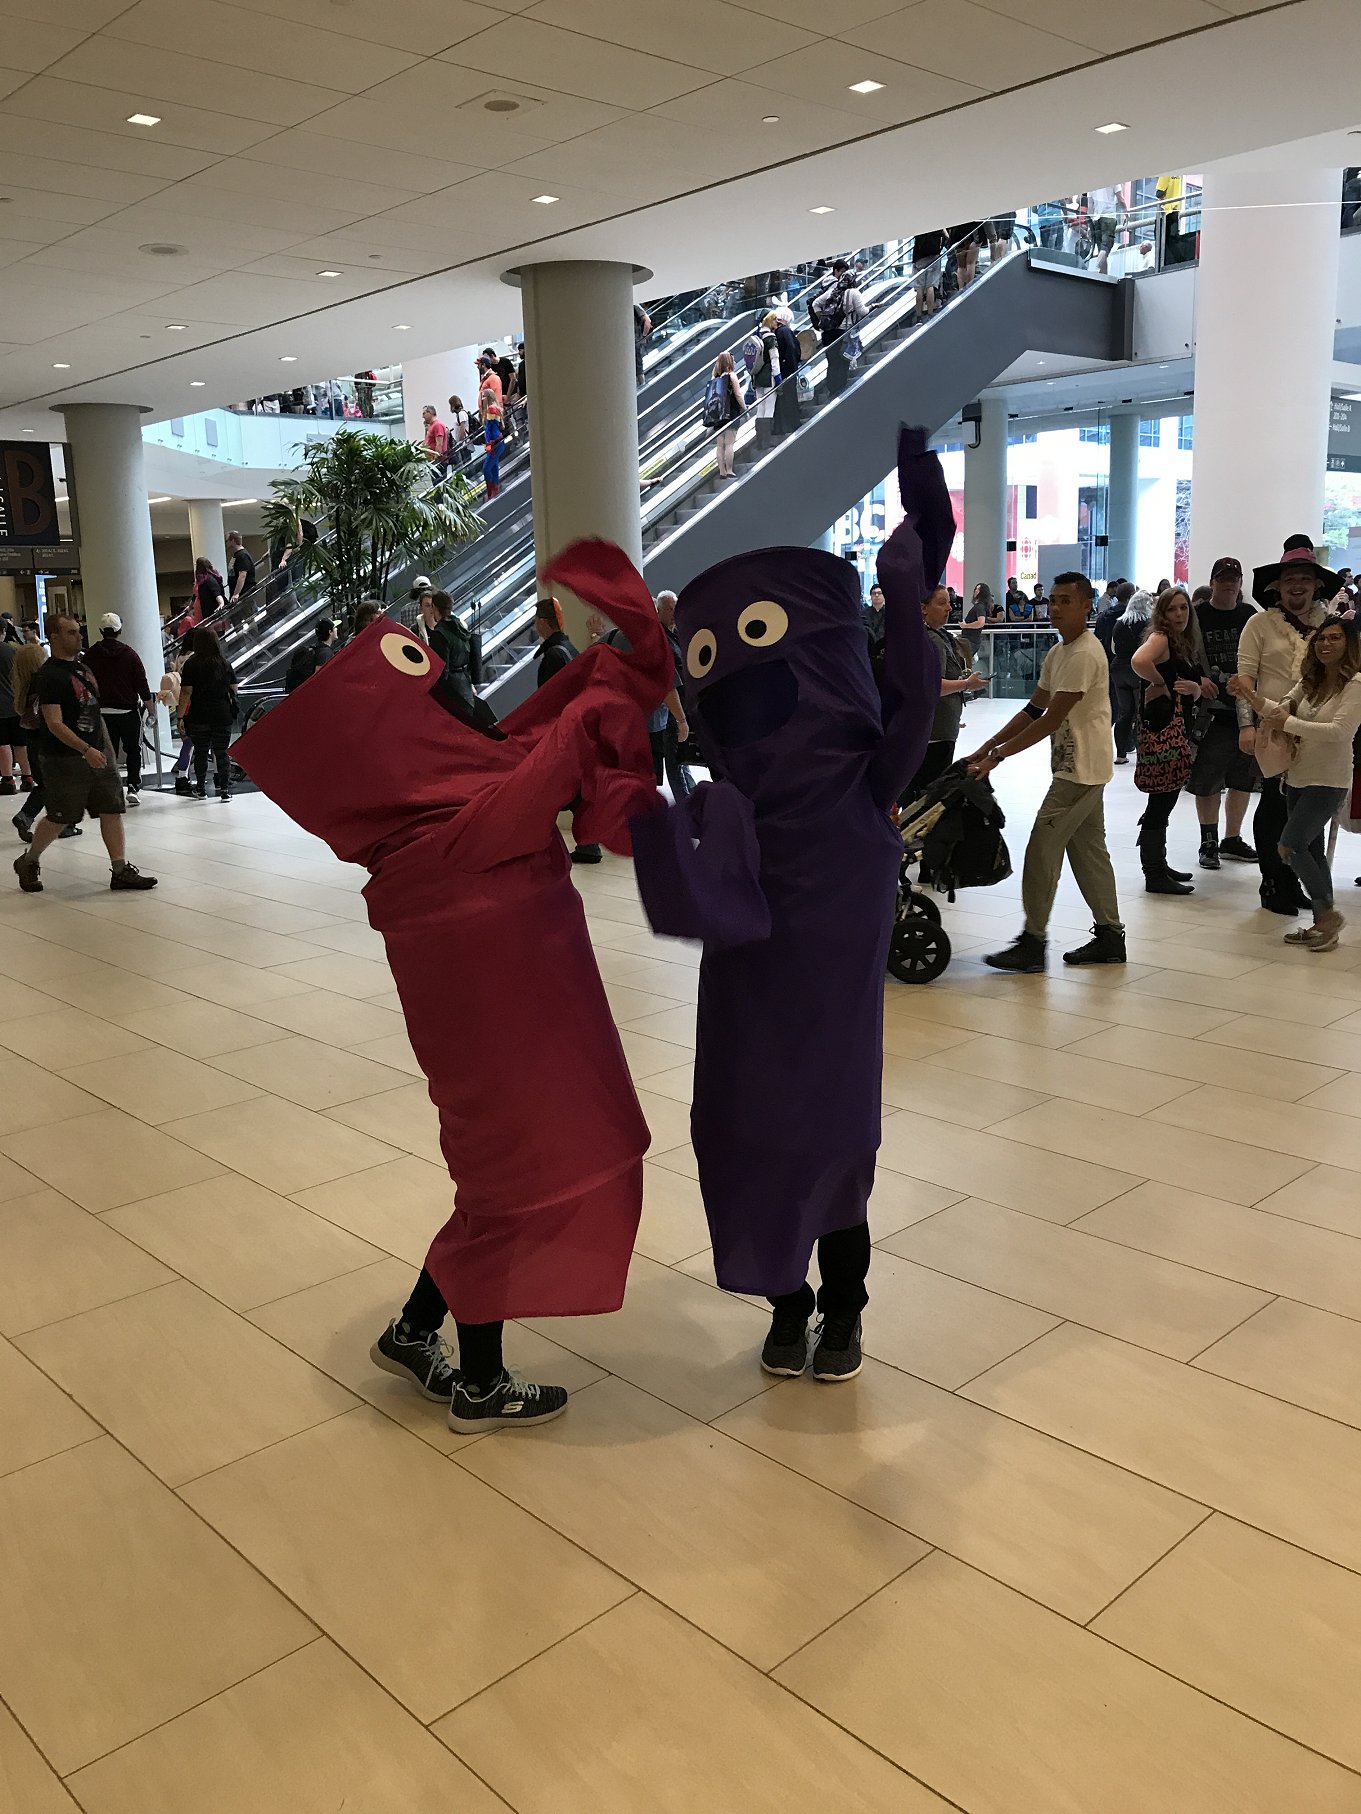
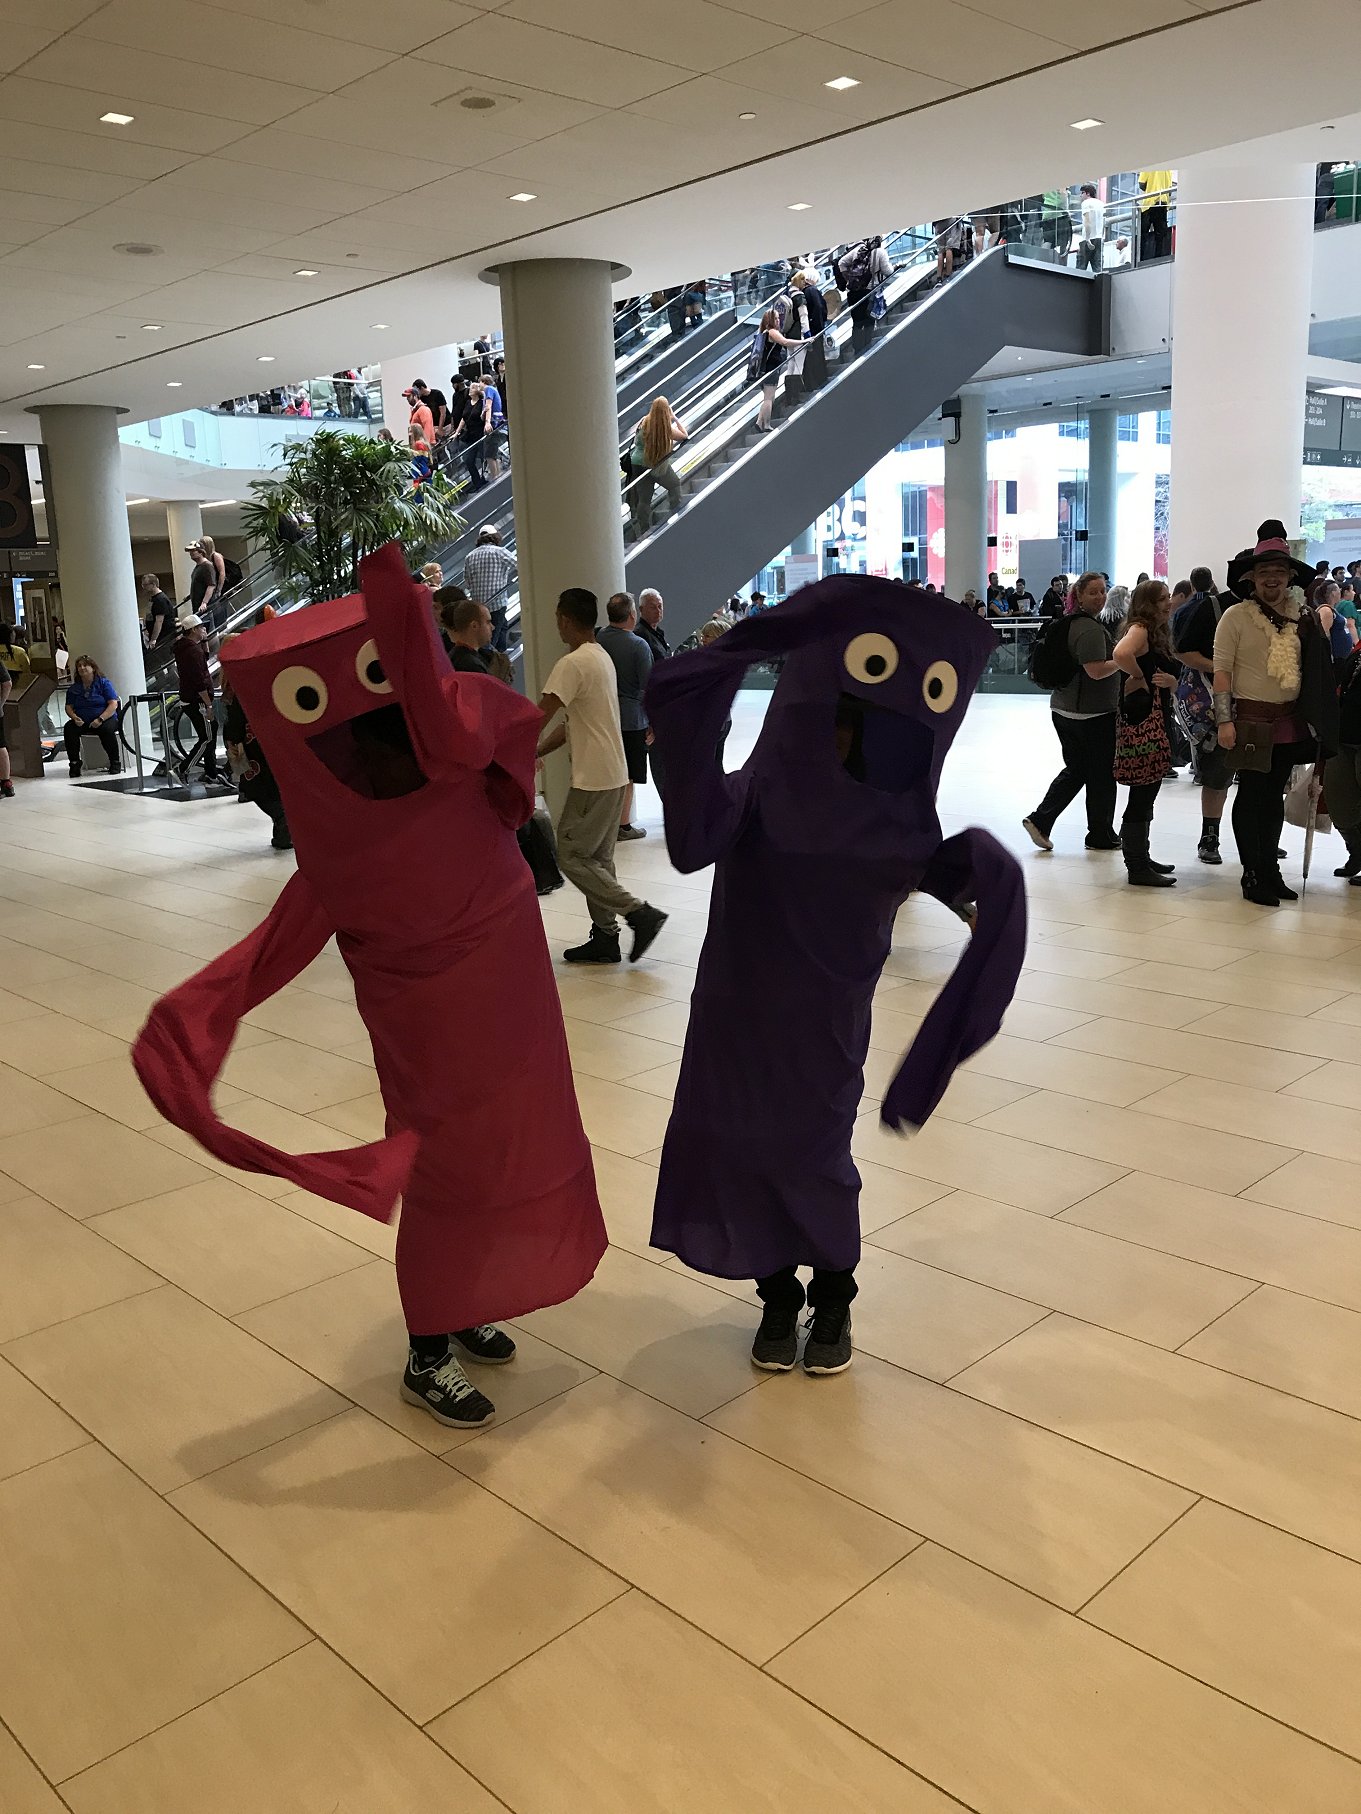
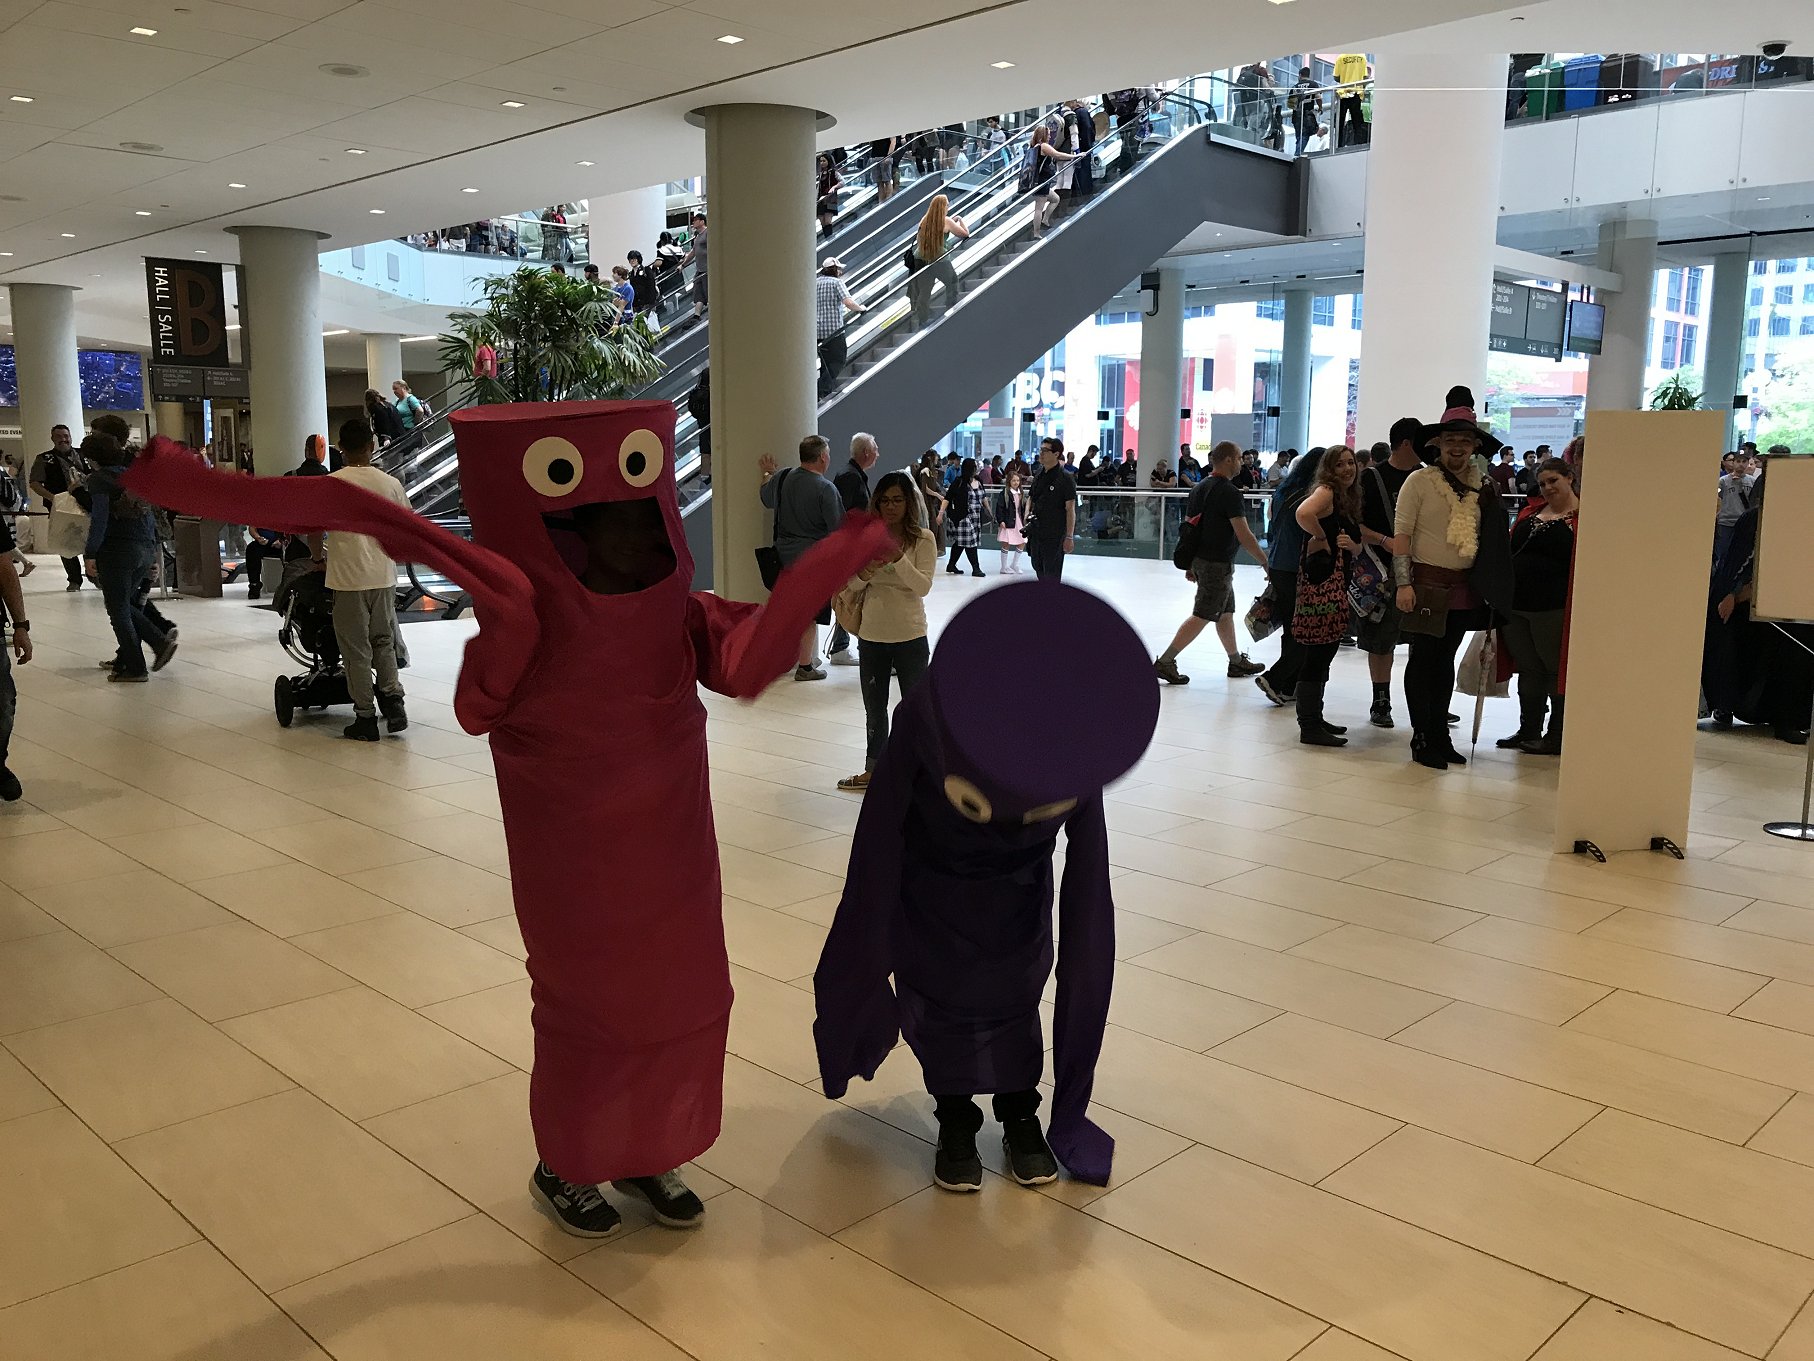
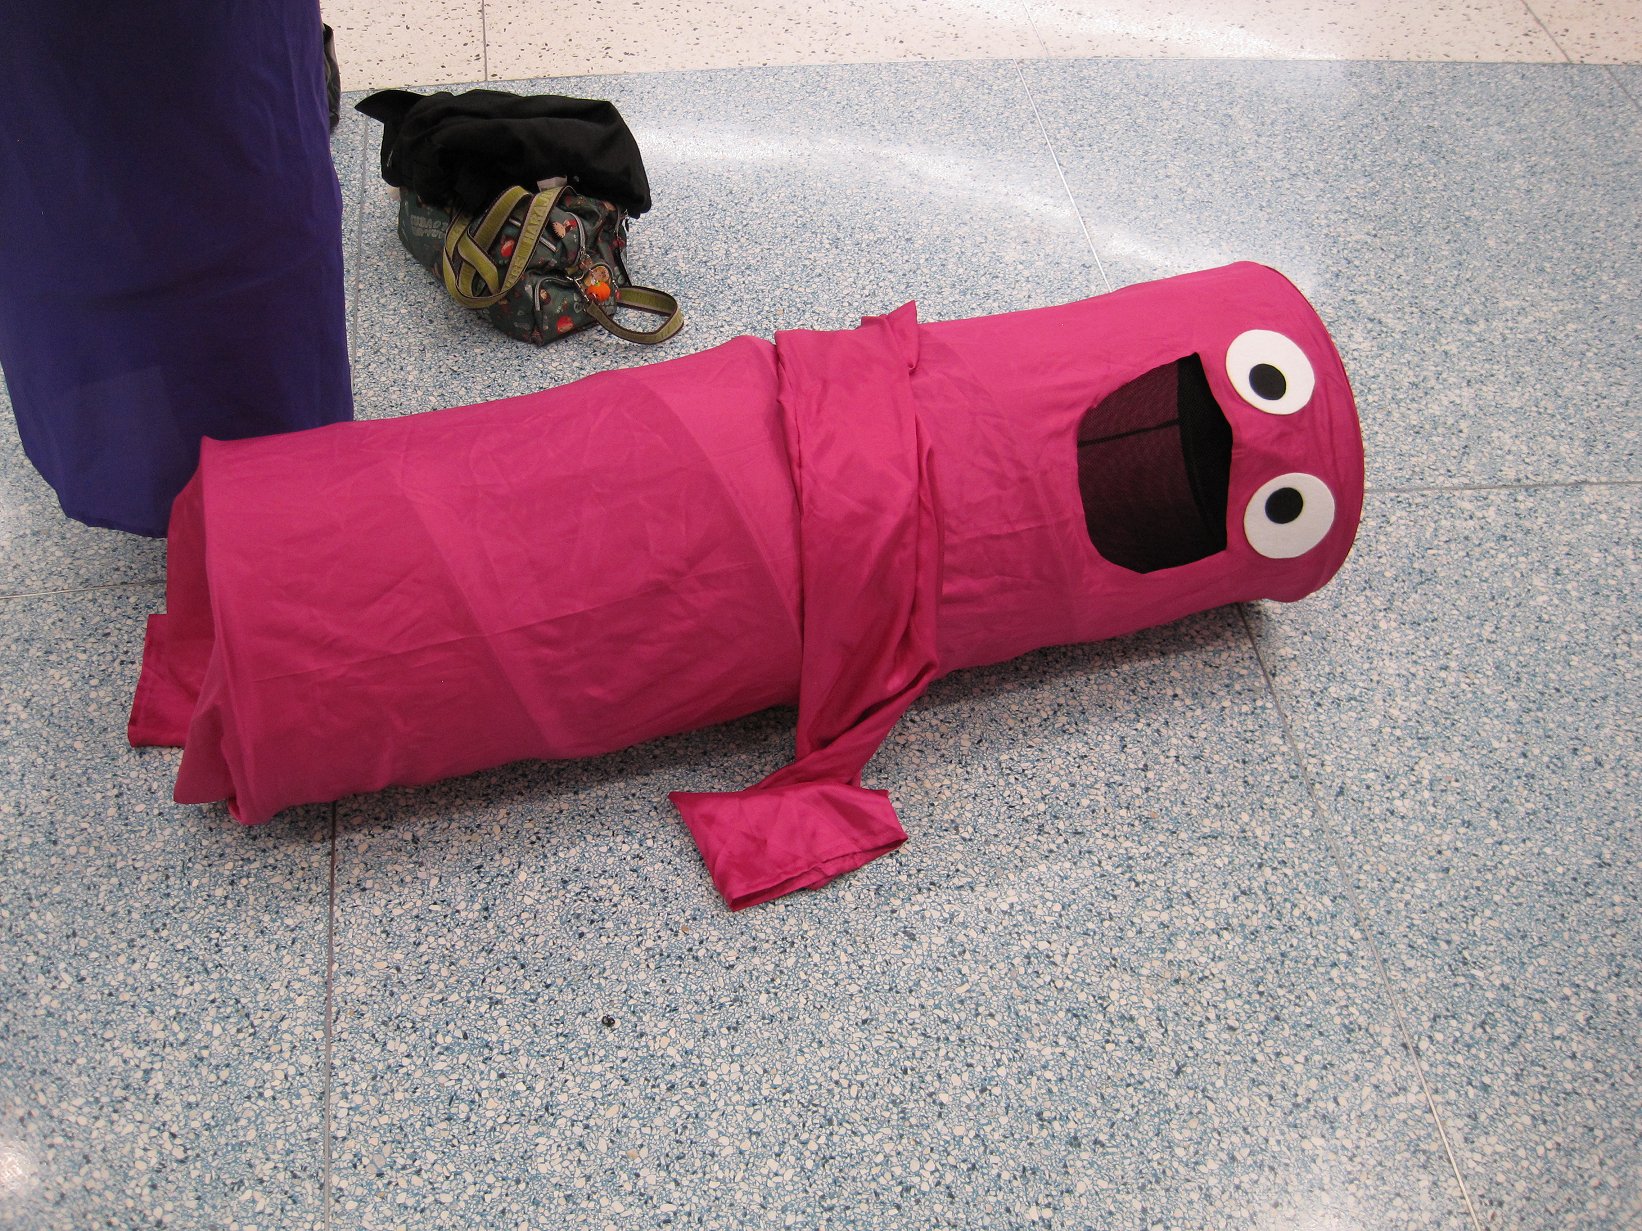
Thankfully the fabric did work out! We sewed big tubes and covered the laundry baskets. The material easily slides over the baskets and holds its shape. We crafted circles using cardboard to support the top of the basket and to give the top a nice clean shape and we glued the edges. Thanks to Pan for her awesome circle shaping skills! We then cut out arm holes (being careful to figure out where the holes would match up). I somehow managed to make a small cut in my fabric that became wacky hijinks when Pan tried to help me close it and accidentally sewed it to the laundry basket so it ripped a little more when we had to cut it free. She fixed it up using a little heat n bond and more fabric. No idea how I made a tiny cut. I was trying to be very careful with the scissors.
We got together again on August 7th. That's when we made simple sleeves and attached them. We wanted to burn the edges of the fabric to eliminate some of the fraying edges, but the material was too flimsy and so we had to go back to the drawing board and we hemmed the sleeve and bottom edges with a roll hem. More effort than we wanted to put into this, but we took the time. XD The last major task, which we got together on August 19th to finish, was to create the smile and eyes. Pan came up with the great idea to cut holes for the mouth so our vision would be through the laundry basket mesh which was quite porous. The hole edges were sealed with heat n bond. My fabric took the heat n bond very well and it made for a nice clean edge. Our vision is quite clear in these costumes which I didn't expect. We're actually more visible than I expected, but in a mascot costume with mobility limitations, that's not a bad thing. Pan shaped eyes for us and we used glue to attach them. That was it. They're very simple costumes. We got together over 4 days to work on these costumes. It was a nice background project to have in the works especially after working on an intense project like Madoka. Over the last few years I tend to sew only one or two costume projects in a year so working on the Wacky Wavy Inflatable Tube Man costume was a nice way to keep motivated and not cut off my creativity, but also not do too much.
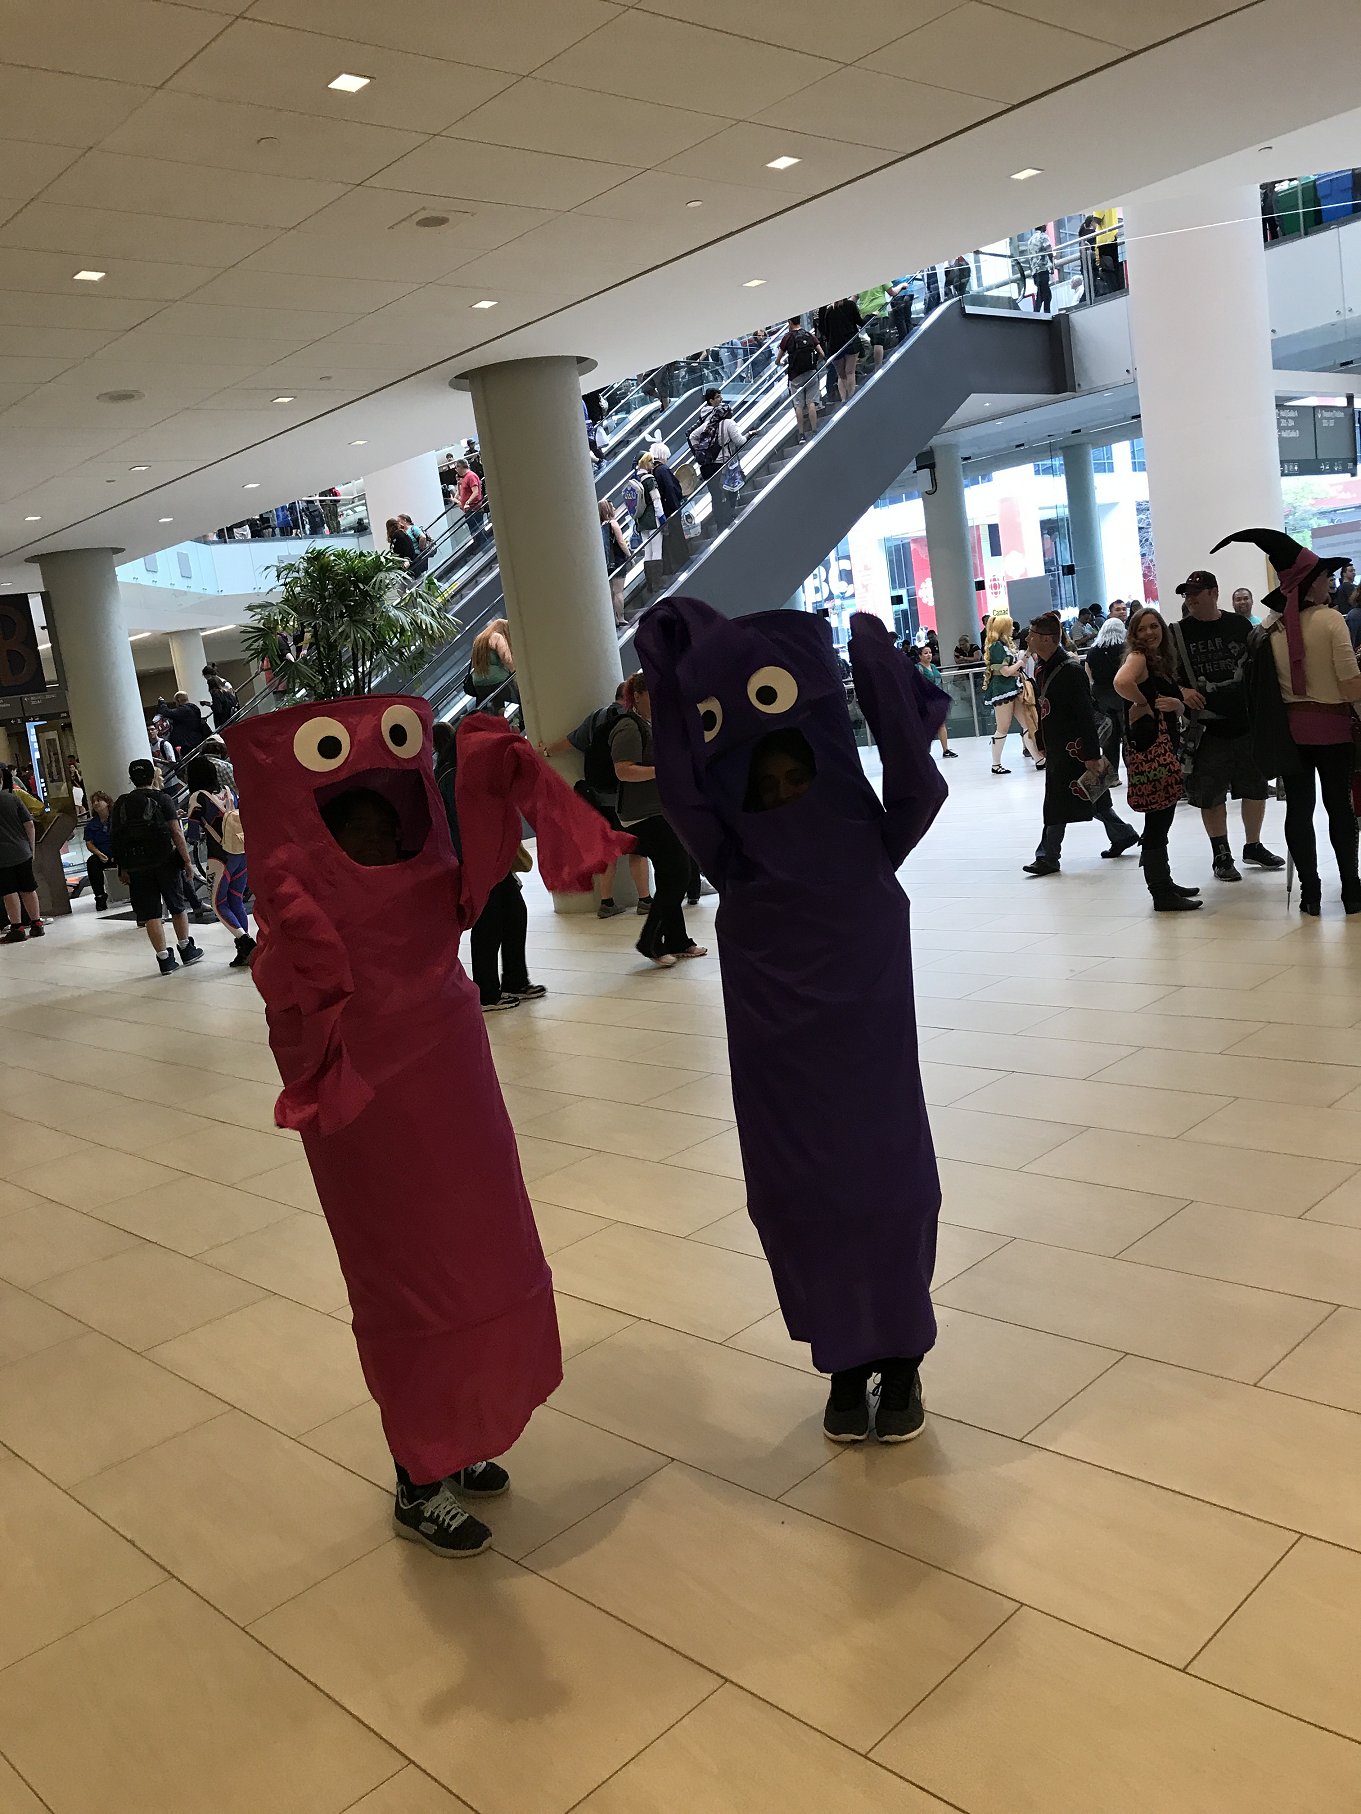
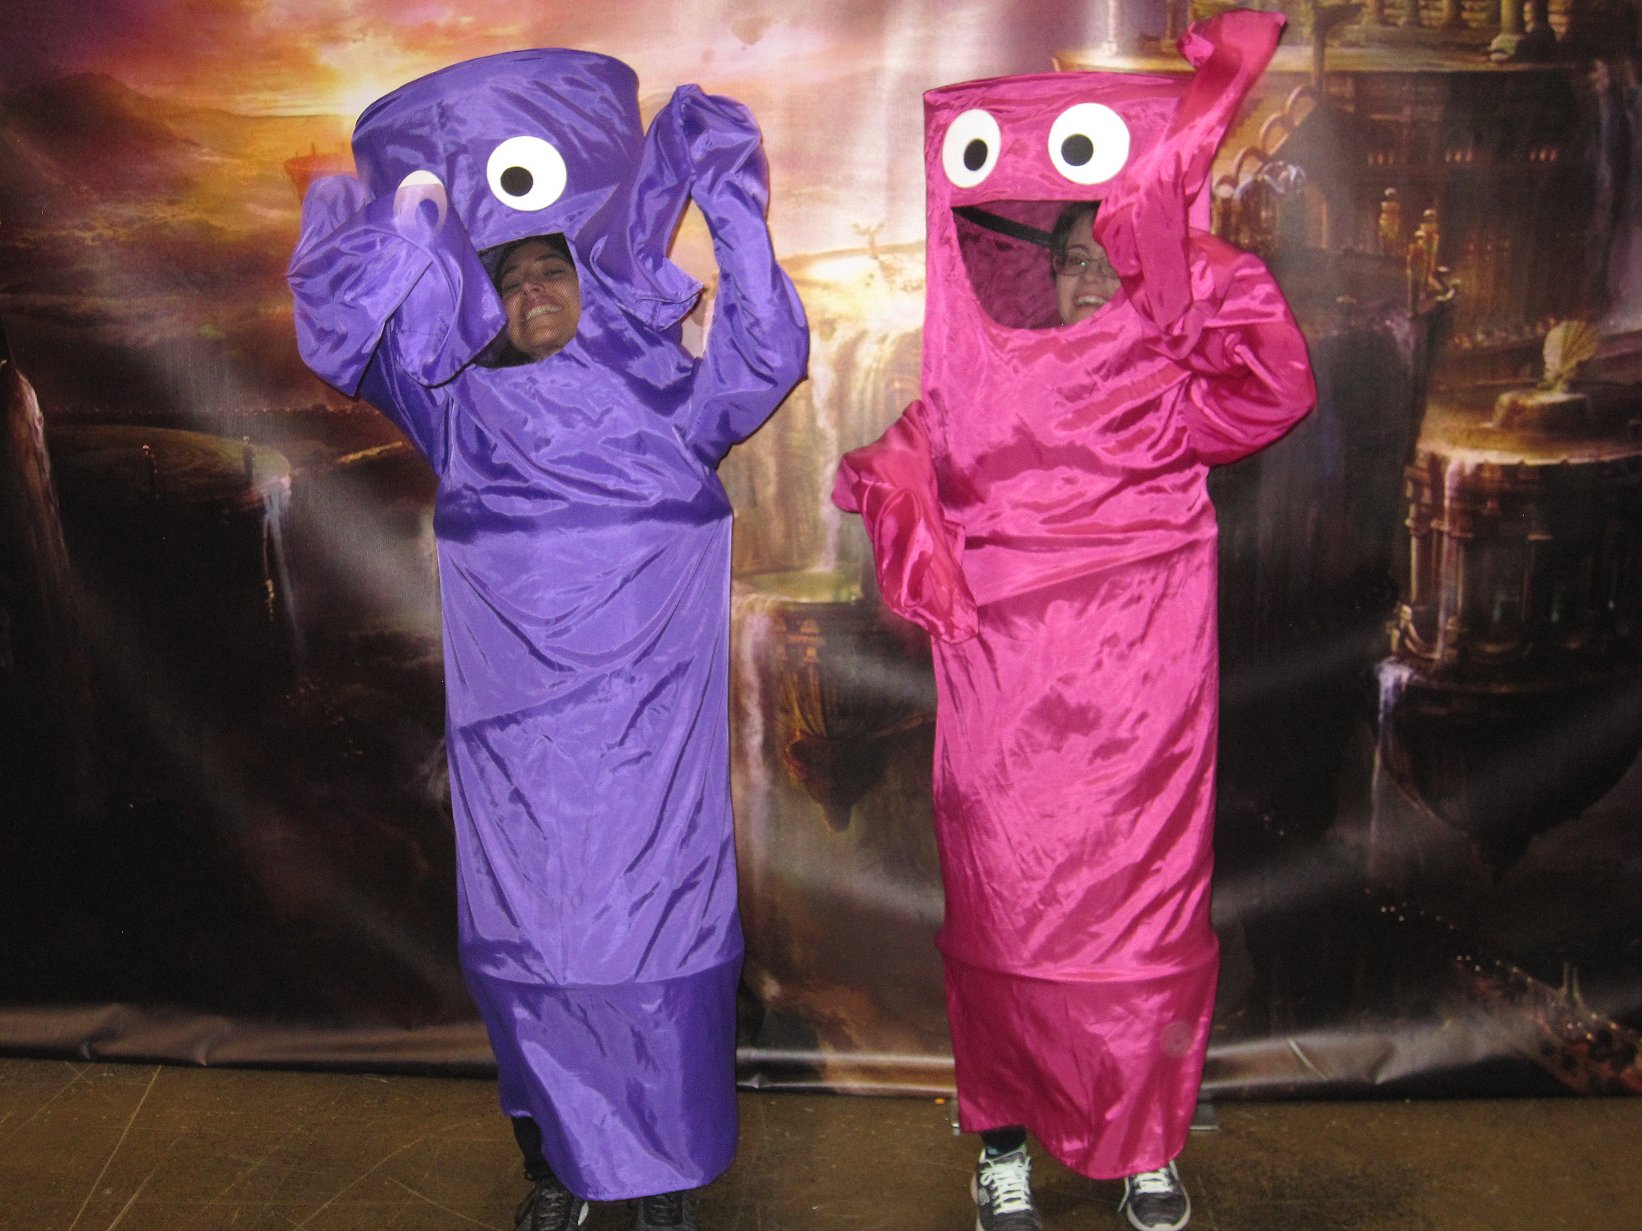
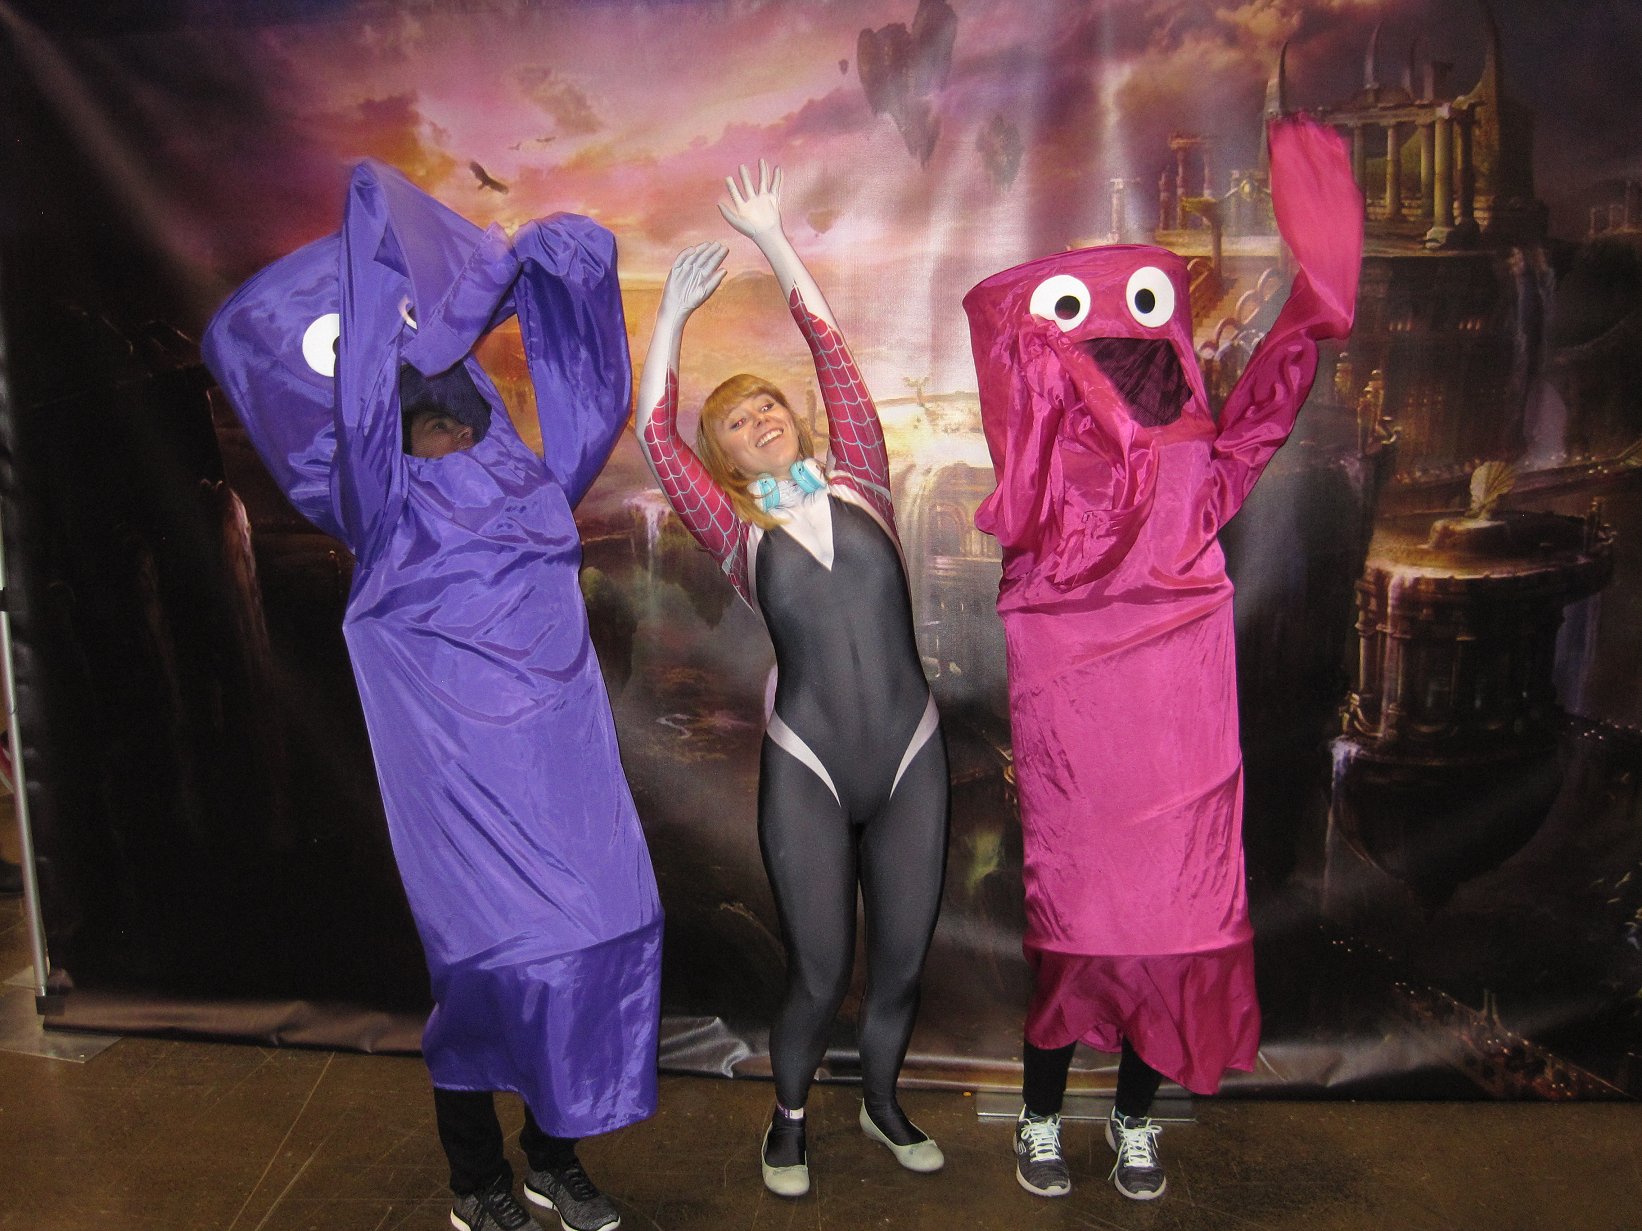
We had an amazing time wearing these costumes at Fan Expo! We decided to bring them on Saturday and wear them before working back stage on the masquerade. We picked a highly visible area in the South building to put our costumes on before wandering. I did not expect quite the level of excitement that these costumes brought forward in attendees. At first it didn't seem like anyone got it, but once we started to wave at people near the escalators, the excitement was pretty intense. Everyone really understood it when we flailed and any time anyone asked us to flail it would guarantee we would be doing it for several minutes for a ton of people. This is a really high energy costume. XD
I've never seen so many fancy cameras take a photo of me as with this costume. You can never underestimate the power of a joke costume! Our costumes really made people smile and we got lots of compliments on the ingenuity. Lots of people wanted videos of us as well. They made people smile and laugh and it was nice to have people laughing along with us. It's not a big surprise that a silly pop culture costume is one of the most popular costumes that I've worn to a con. I did joke with Pan that we would only spend a little bit of time on these, but they would eclipse any other costume we could make for recognition factor and I wasn't really wrong. It was also neat to have a costume that folds up easily for transport and is simple to put on and take off as needed (besides the fact it's always wrinkly). Not sure if I'll bring this costume out again for another convention, but if I did it's sure to create a stir!
Events/Conventions this costume was worn to
Fan Expo 2017 (Saturday)
Photo Credits
Elliot
Back